
Woven Star from Vintage Book Pages
This is the first star I made using 1″ x 8″ strips cut from an old dictionary.
 After that I reduced the length of the strips by 1″ each time (stopping at 1″ x 4″) – discovering that the 1″ x 6″ size is the one I prefer (when complete, the finished size is 1″ smaller than the length of the strips).
  This is the last star I made (slightly angled so you see the dimension). I glued 3 sheets of dictionary paper together. When dry, the next day, I cut it in 1/4″ strips and used hot glue to assemble, finishing up with a little tinsel glitter (couldn’t help it). I prefer the glued paper over the folded method. The strips are crisp, strong and flexible, allowing for a stronger tension on the longer strips that create the space between the two sides. The downside to gluing pages vs folding them is that you have to wait until they’re bone dry before cutting and assembling the star – plan ahead.
I discovered…
– the process of making the star is fun – from cutting and folding to glueing (my preference is dbl sided tape or dots of hot glue – white glue takes too long to set).
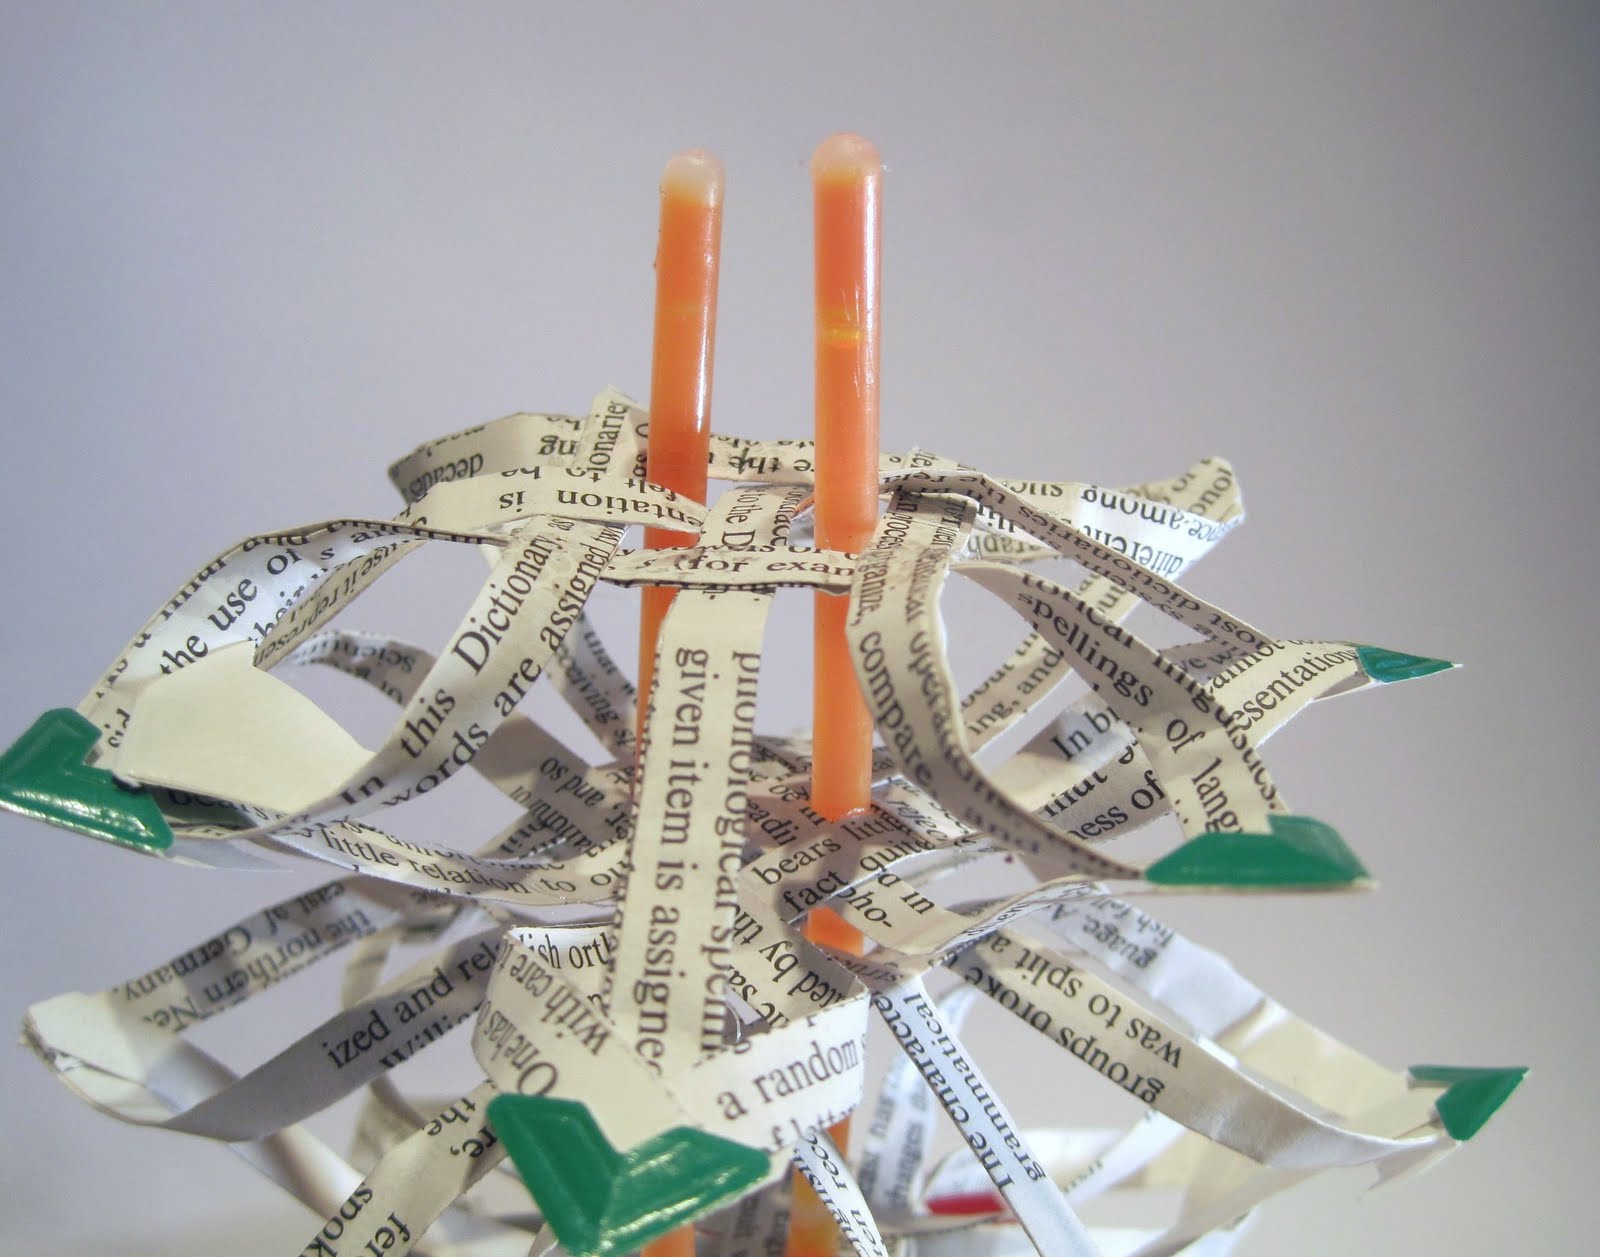
– when stacked the stars look like a tree (8 1/2″ to top of tree). I found green photo corners in my stash and put them on the points of the star giving the tree more of a “tree” look (cut corners from discarded mail envelopes and metal corners (the tree would have to be going to someone special for me to use my metal corner stash) could be used too). Not my favorite but thought I’d share the idea. The topper is a vintage angel ornament.

The Possiblities Are Endless.
1. Use cardstock and cut 1/4″ strips vs folding 1″ strips down to a 1/4″ size. Graphic 45 paper is an all time favorite of mine so I have scraps. This is a star made from my scraps, adding perfect pearls to both sides after it was finished. Love it.

2. I’m making a star for my relative from the Book of Genesis. If I glue the pages together vs folding I should be able to get readable lines on the strips.
3. My sister and brother-in-law get creative with the letter “Q” at our yearly Christmas Scrabble game. I’m making a star out of the “Q” section of the dictionary, gluing the “Q” scrabble tile to the middle of both sides of the star.
4. A group of these would make a beautiful wreath
5. Cut blank strips and write blessings, or wishes, or dreams on them. Then fold and assemble as usual.
6. Adopted a child? Copy the adoption papers, add some blessings – cut and make a special star with them.
6. Use fabric stiffener on scraps of cloth (baby clothes you know you need to declutter but can’t get rid of the memory entirely), cut in 1/4″ strips and assemble as usual.
7. Use fabirc stiffener on scraps of ribbon and assemble as usual.
8. Any color of glitter would only enhance the stars. I haven’t gone there because I have enough glitter in my stash to shine up my whole neighborhood and once I start – I’m not sure I’d know when to stop.


Weave two sets of 6 strips as shown and tack with glue (white glue, hot glue or dbl sided tape): Using only the corner strips – twist the tips as shown below and glue (my preference is a dot of hot glue). You will have four corners and four strips in each set of 6 strips (one set each side of star).
 Put each side of the star face to face with the curves toward each other – turn at 45 degrees so they “fit”.
 Trim the strips at the point so you don’t see an overlap.
If you choose to make a star I’d love to see it.
I found this star on http://http//houserevivals.blogspot.com/2010/11/make-woven-star-from-vintage-book-pages.html . Go visit – there are more pictures and two more pattern tutorials (I prefer this one).