
Tutorial – Gouache Resist Using a Resist Liner
Backstory: Our bi-monthly doodling group was tasked with coming to the next meeting with a doodle containing our initial, a flower(s) and a square (could be the size of the paper).
I came across my fine line bottle of masking fluid while I was moving things around (again and again) and it was on my mind – so one thing led to another and I wound up with a gouache resist using a mask resist for the lines vs the usual black permanent marker.
Size: 6″ W x 9″ H
Supplies: Water Color Paper, FineLine Resist Pen, Golden Fluid Acrylics, Micron Pen/005, FW Acrylic Ink, Gelli Plate, Uni-Ball Signo White Pen, Pencil, White Gouache, Higgins Black Ink
Initial drawing incorporating the letter “J”.
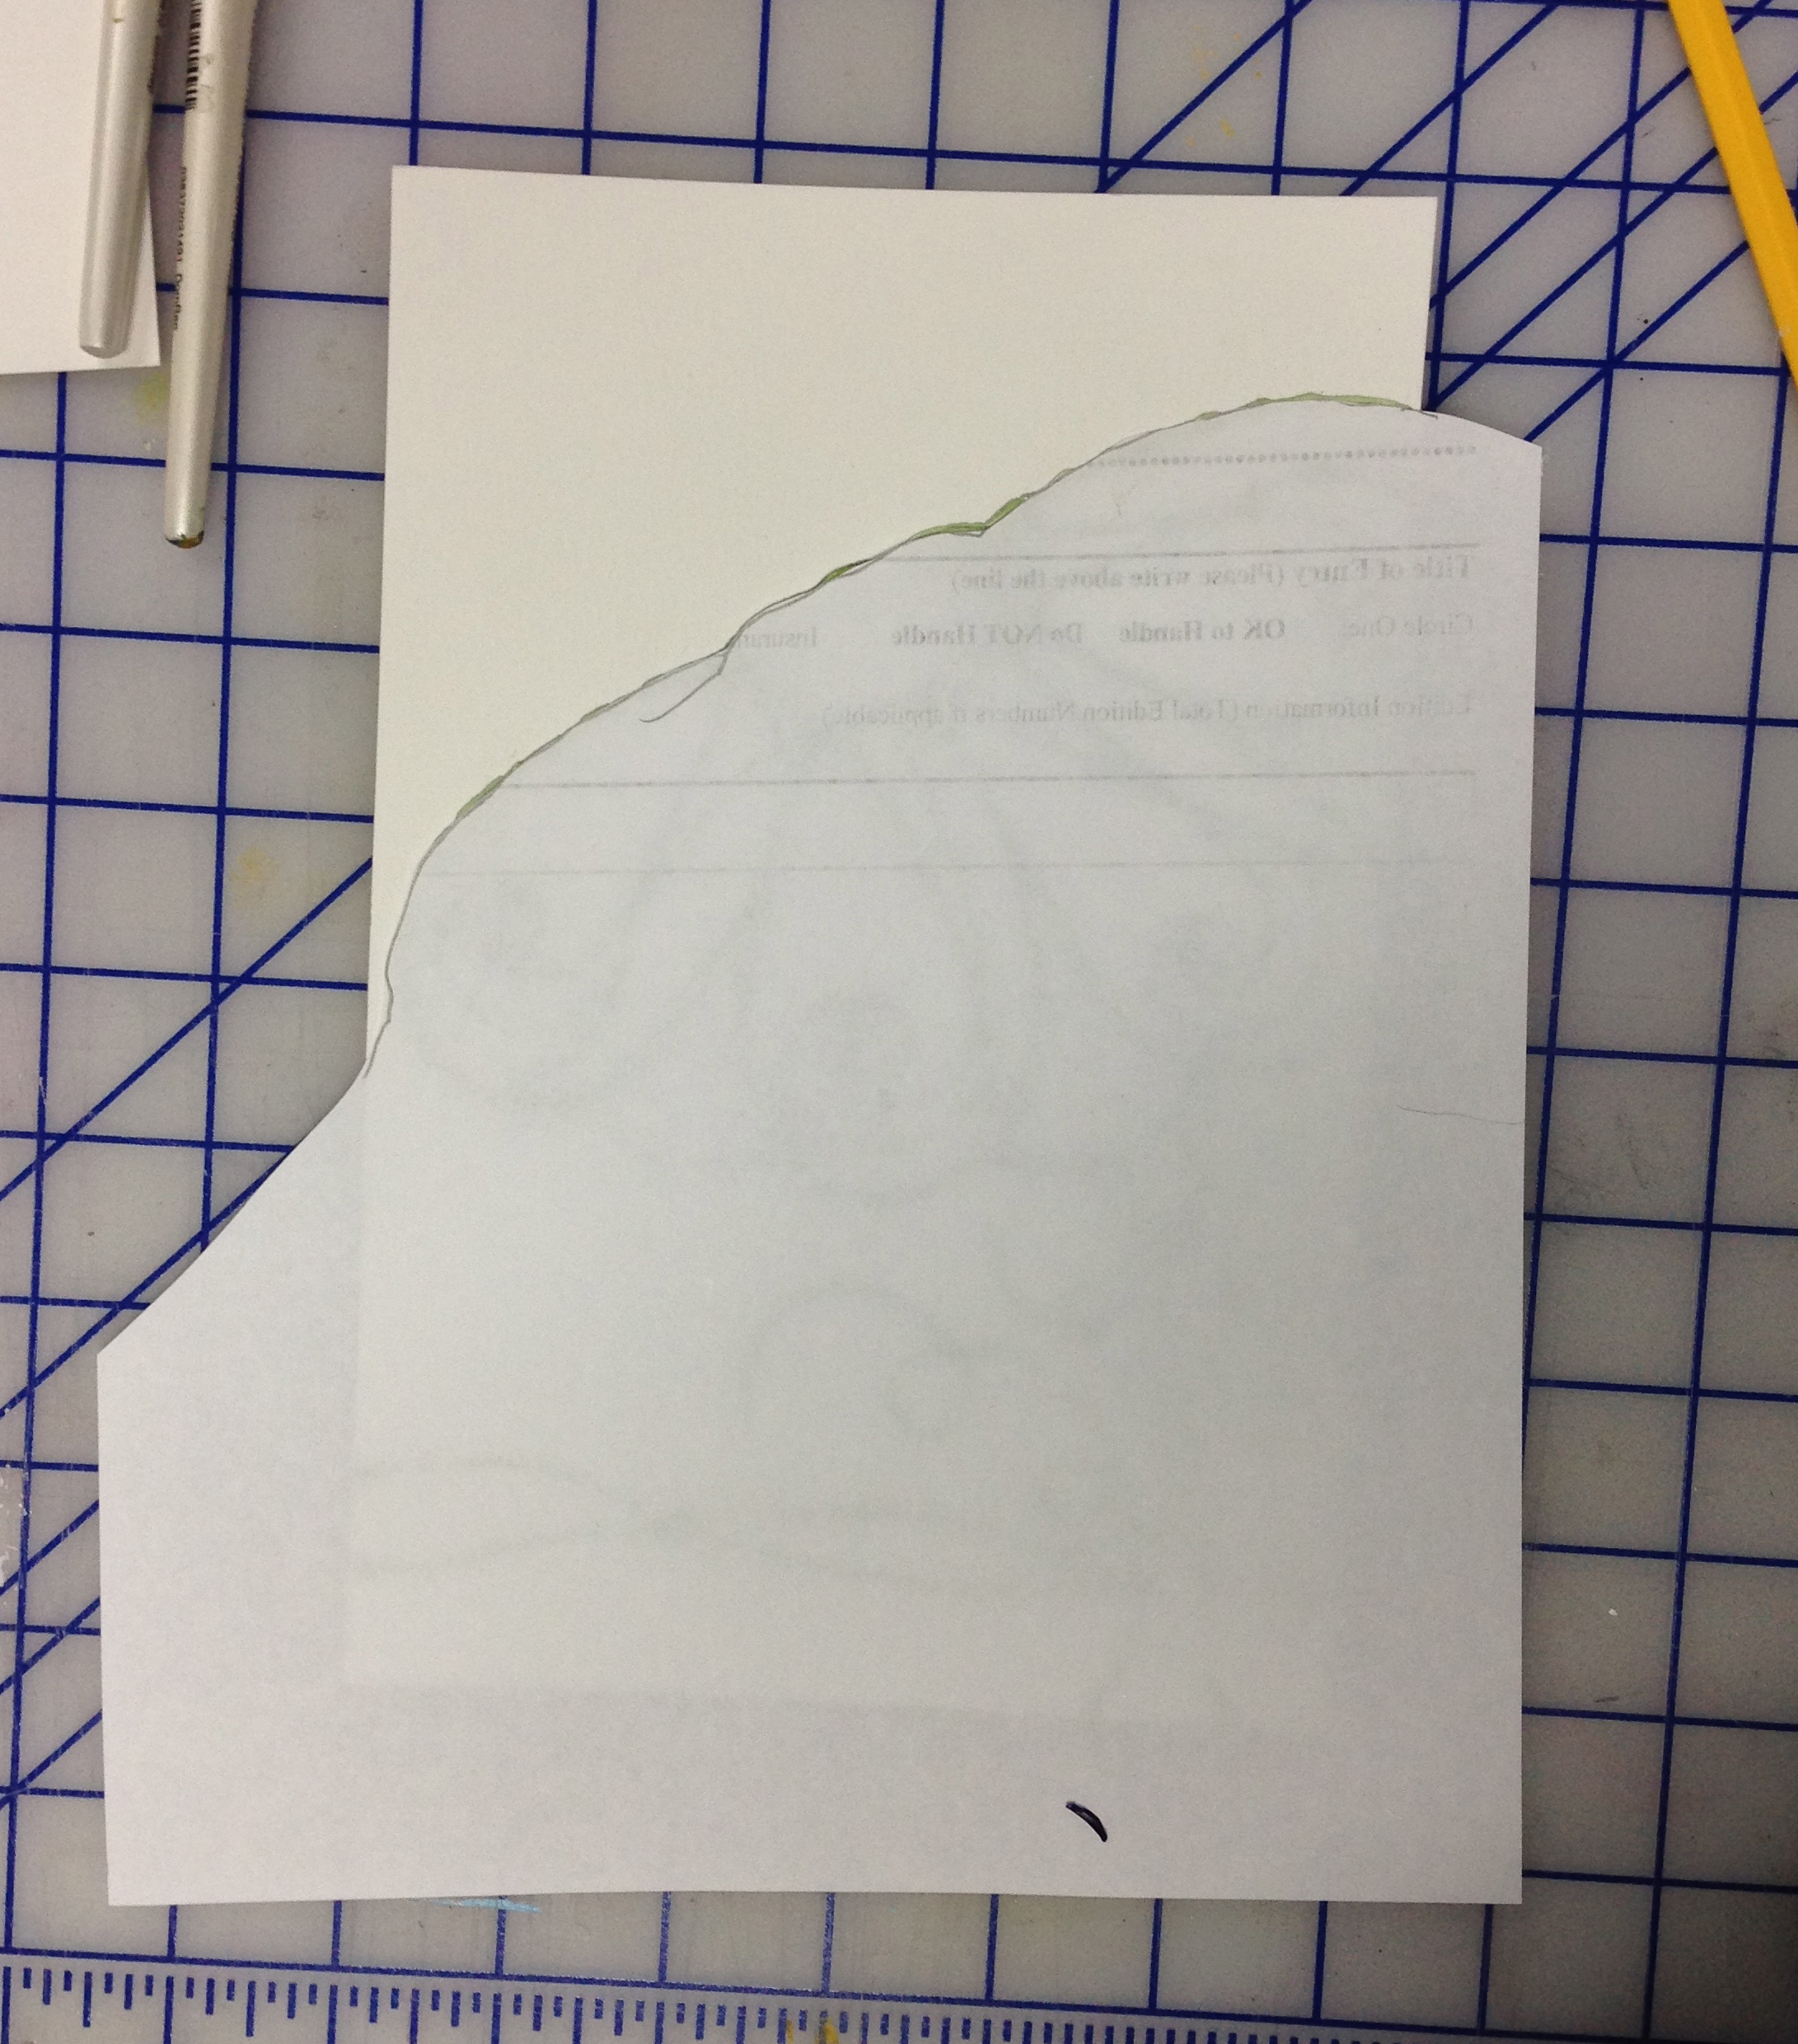
I began the drawing on scrap paper using a #2 pencil. Notice the “J”? I refined the drawing and transferred it to the water color paper using a #2 pencil.

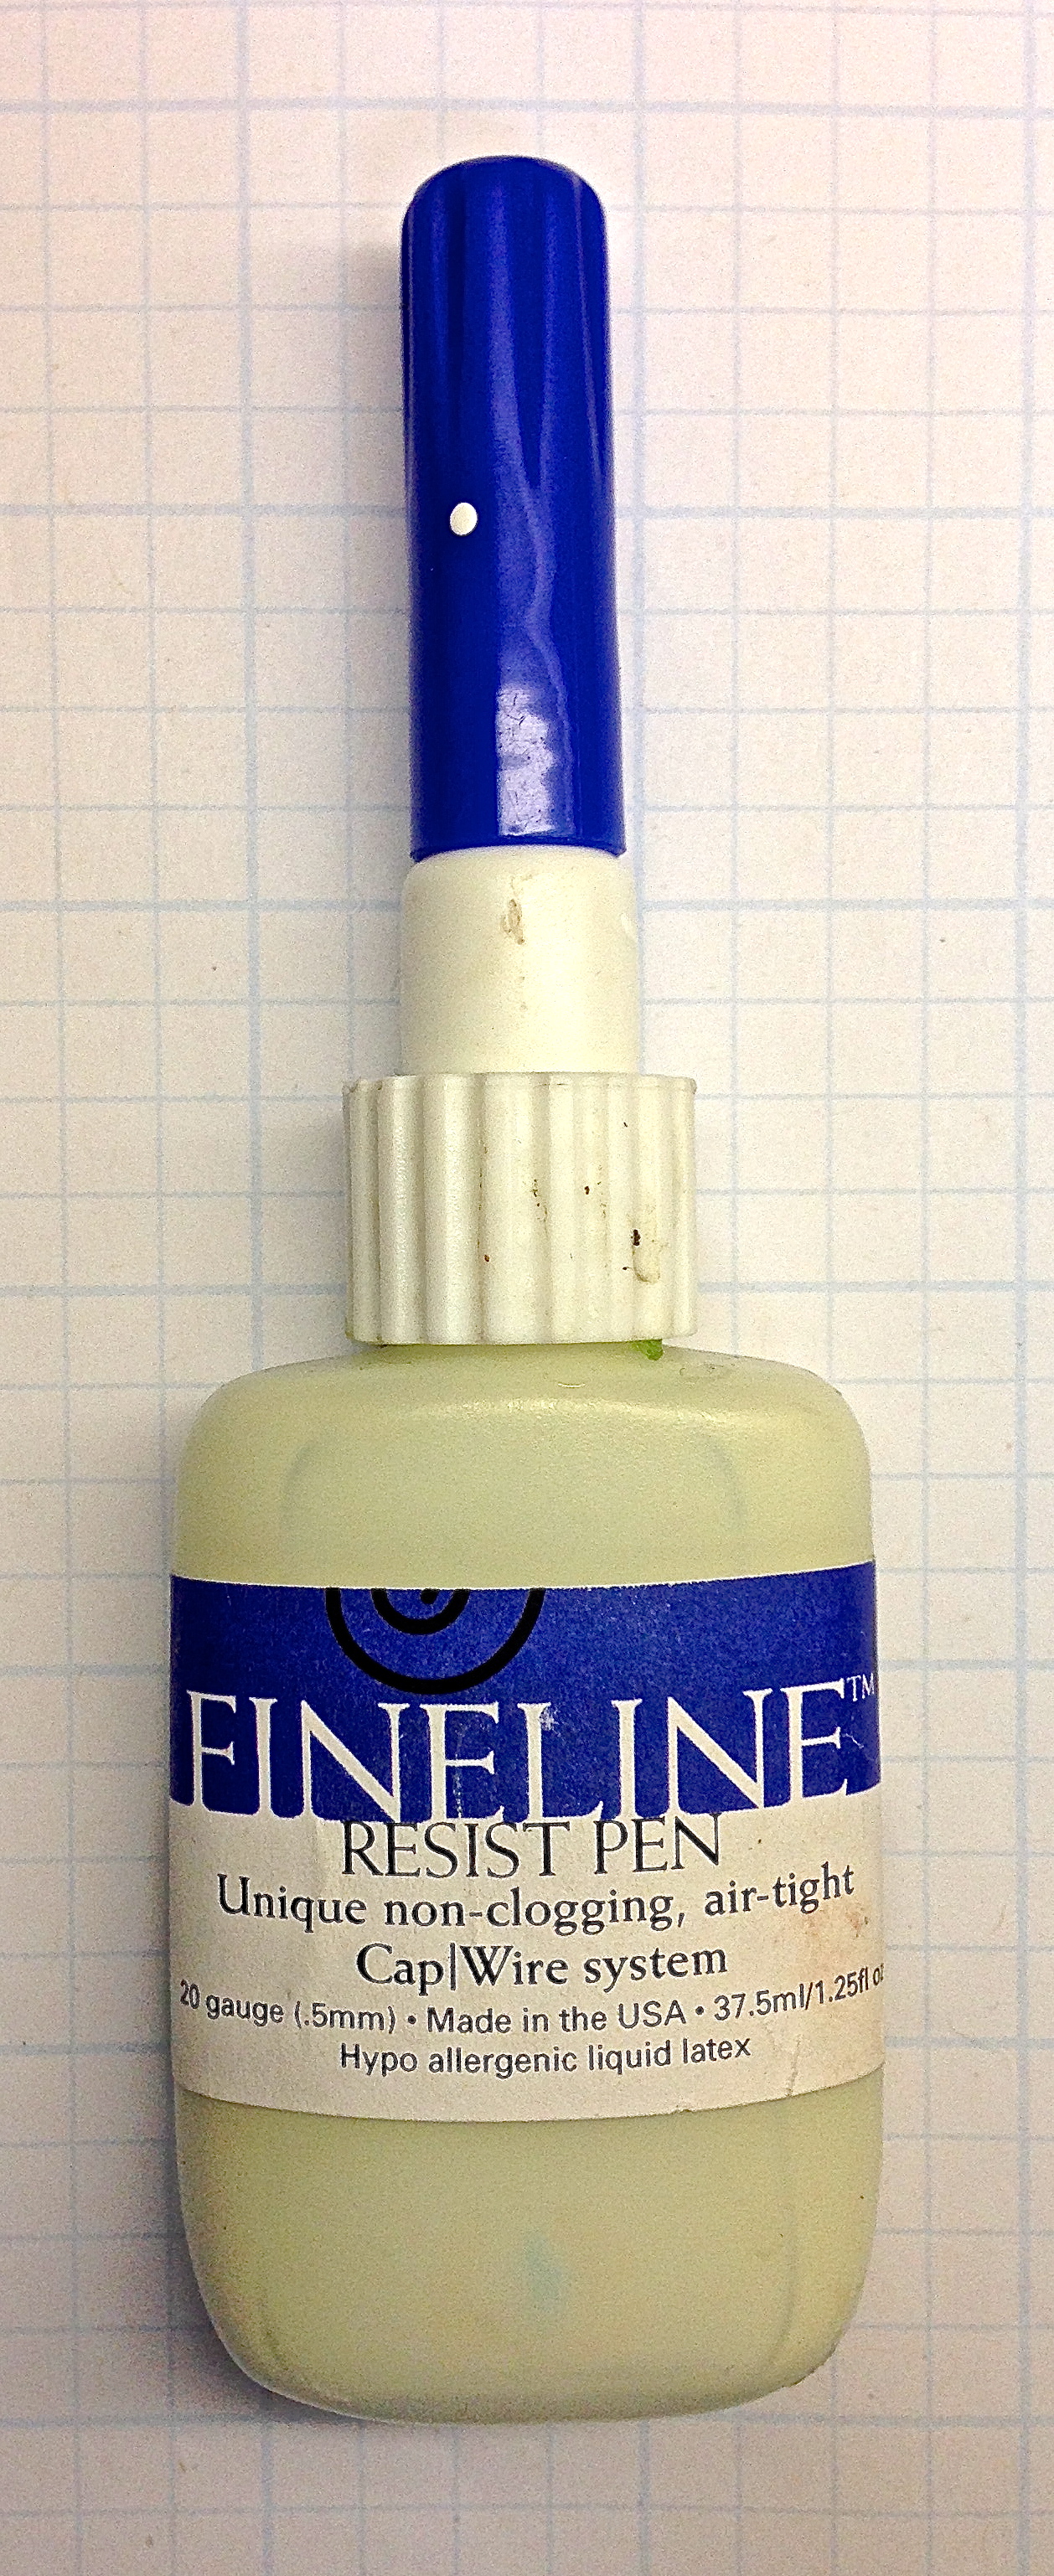
Using the FineLiner I drew over the pencil line with the resist. It was set aside to dry thoroughly. Note: The bottle comes with a fine wire attached in the cap that goes into the metal tip to seal it when closed. I take an extra precaution of the glue drying in the tip by washing it out under running water and blowing water thru it before putting back on.

Dried Resist
Using the initial drawing as a mask, I used a Gelli Plate to apply the background colors.
White gouache was painted over the whole page and dried thoroughly.
A solid application of Black Higgins ink was then painted over the white gouache. Note: I have a few different brands of black ink and couldn’t remember what worked best. Higgins wasn’t it 😉 Use Speed Ball Black Ink.
I didn’t take a picture of this flower after the ink was applied, in fact, looking back through my pictures I didn’t take a picture of any of my gouache resist paintings I did after they were inked. Trust me – it was solid black.
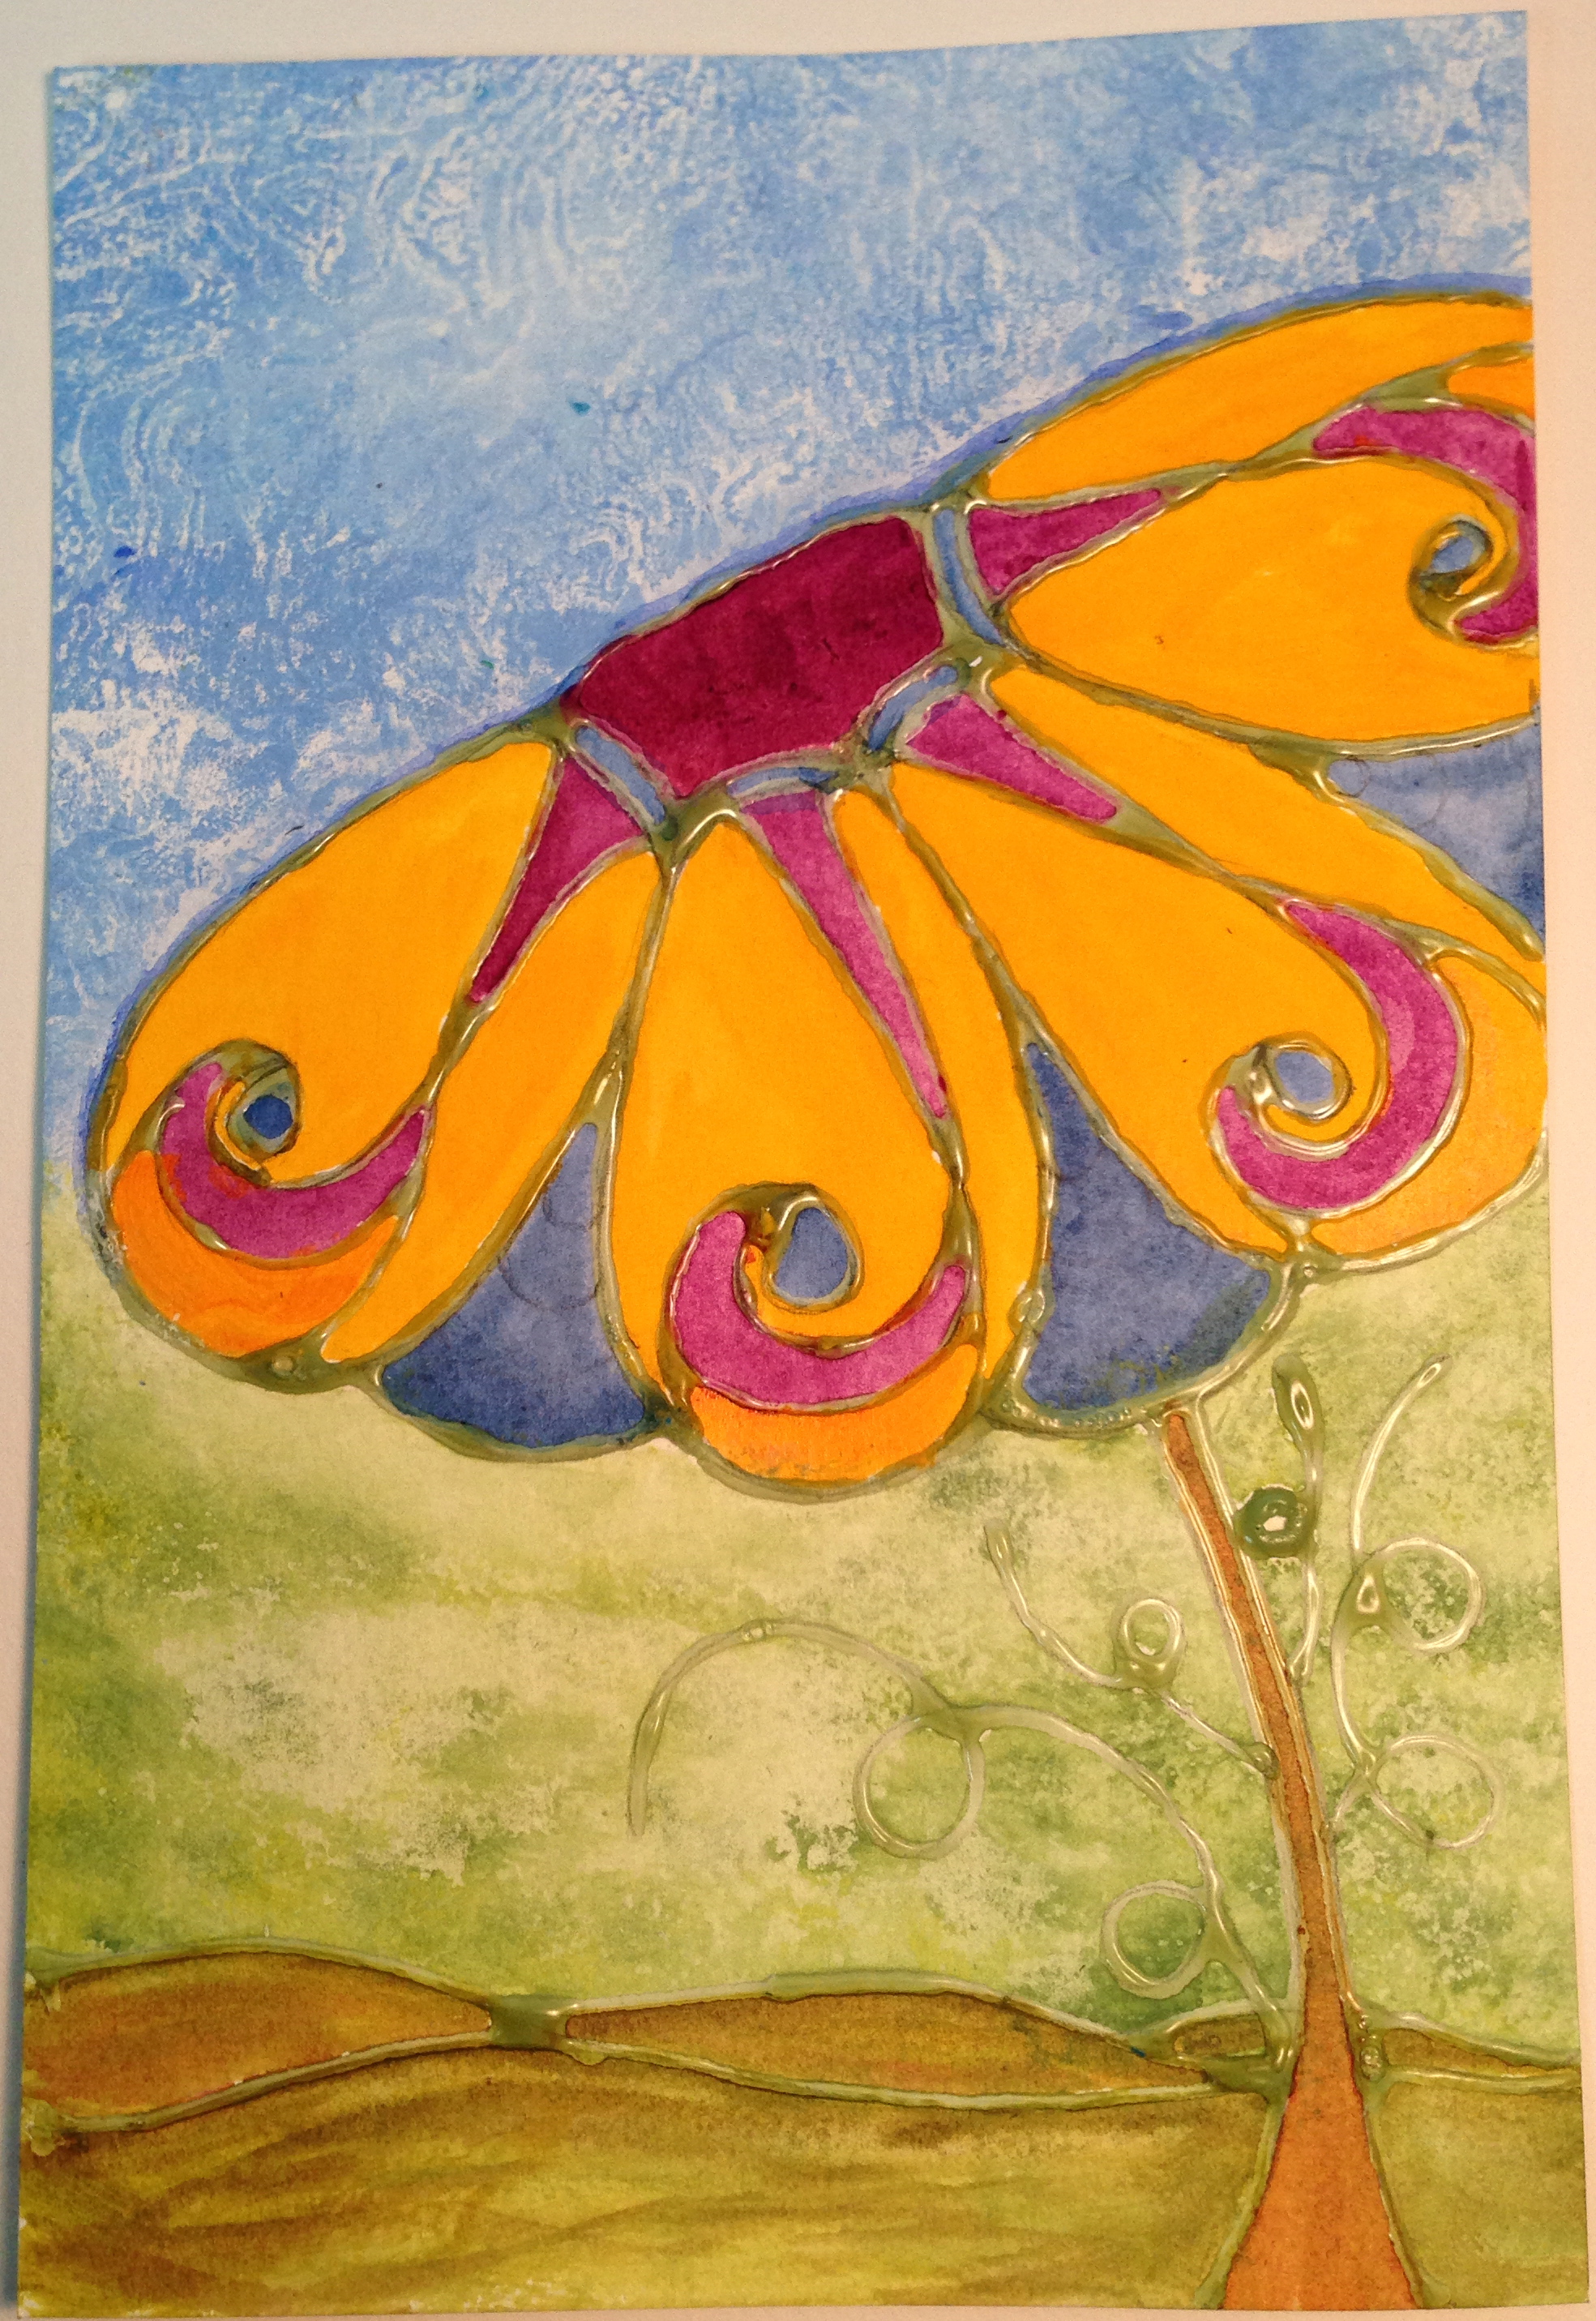
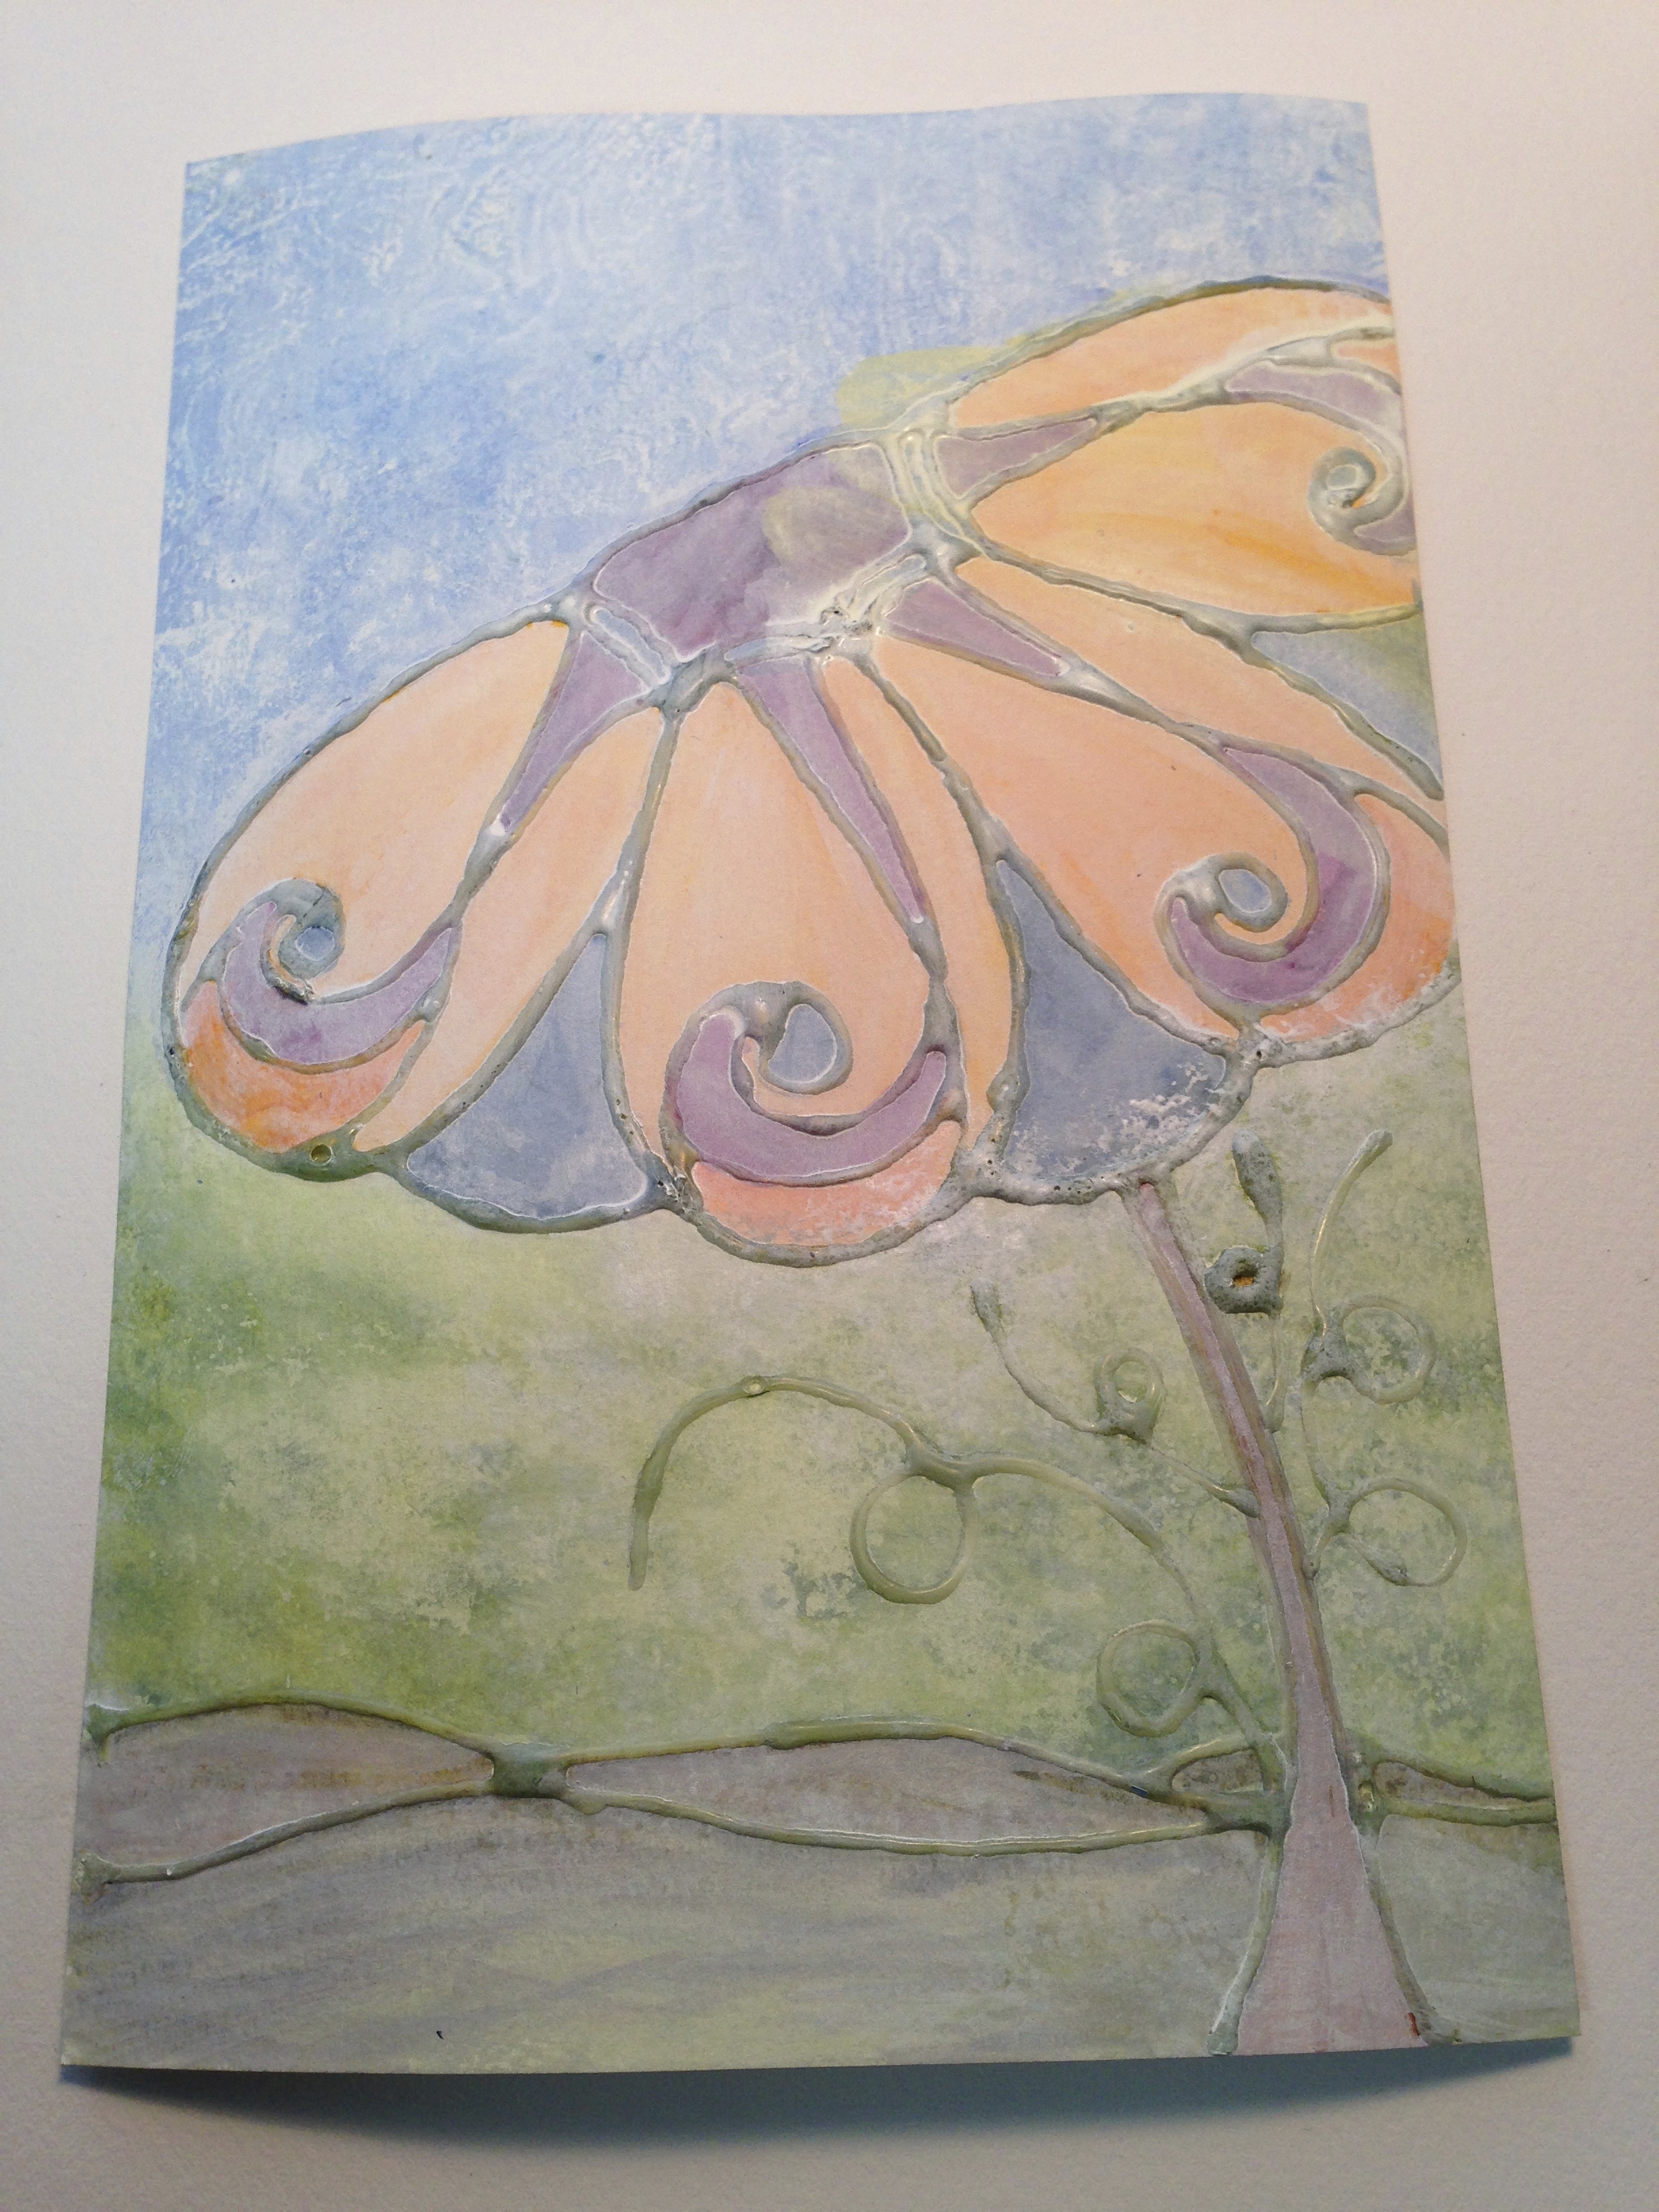
After the black ink is thoroughly dry the picture is put under the faucet and washed off. The white qouache is washes off at the same time, leaving what you see below. Note: This is the reason for using water color paper.

Next, the resist is rubbed off using either an eraser and/or a sharp needle tool, being careful not to stick the paper.
This is the painting after all the resist has been removed and the pencil lines erased.

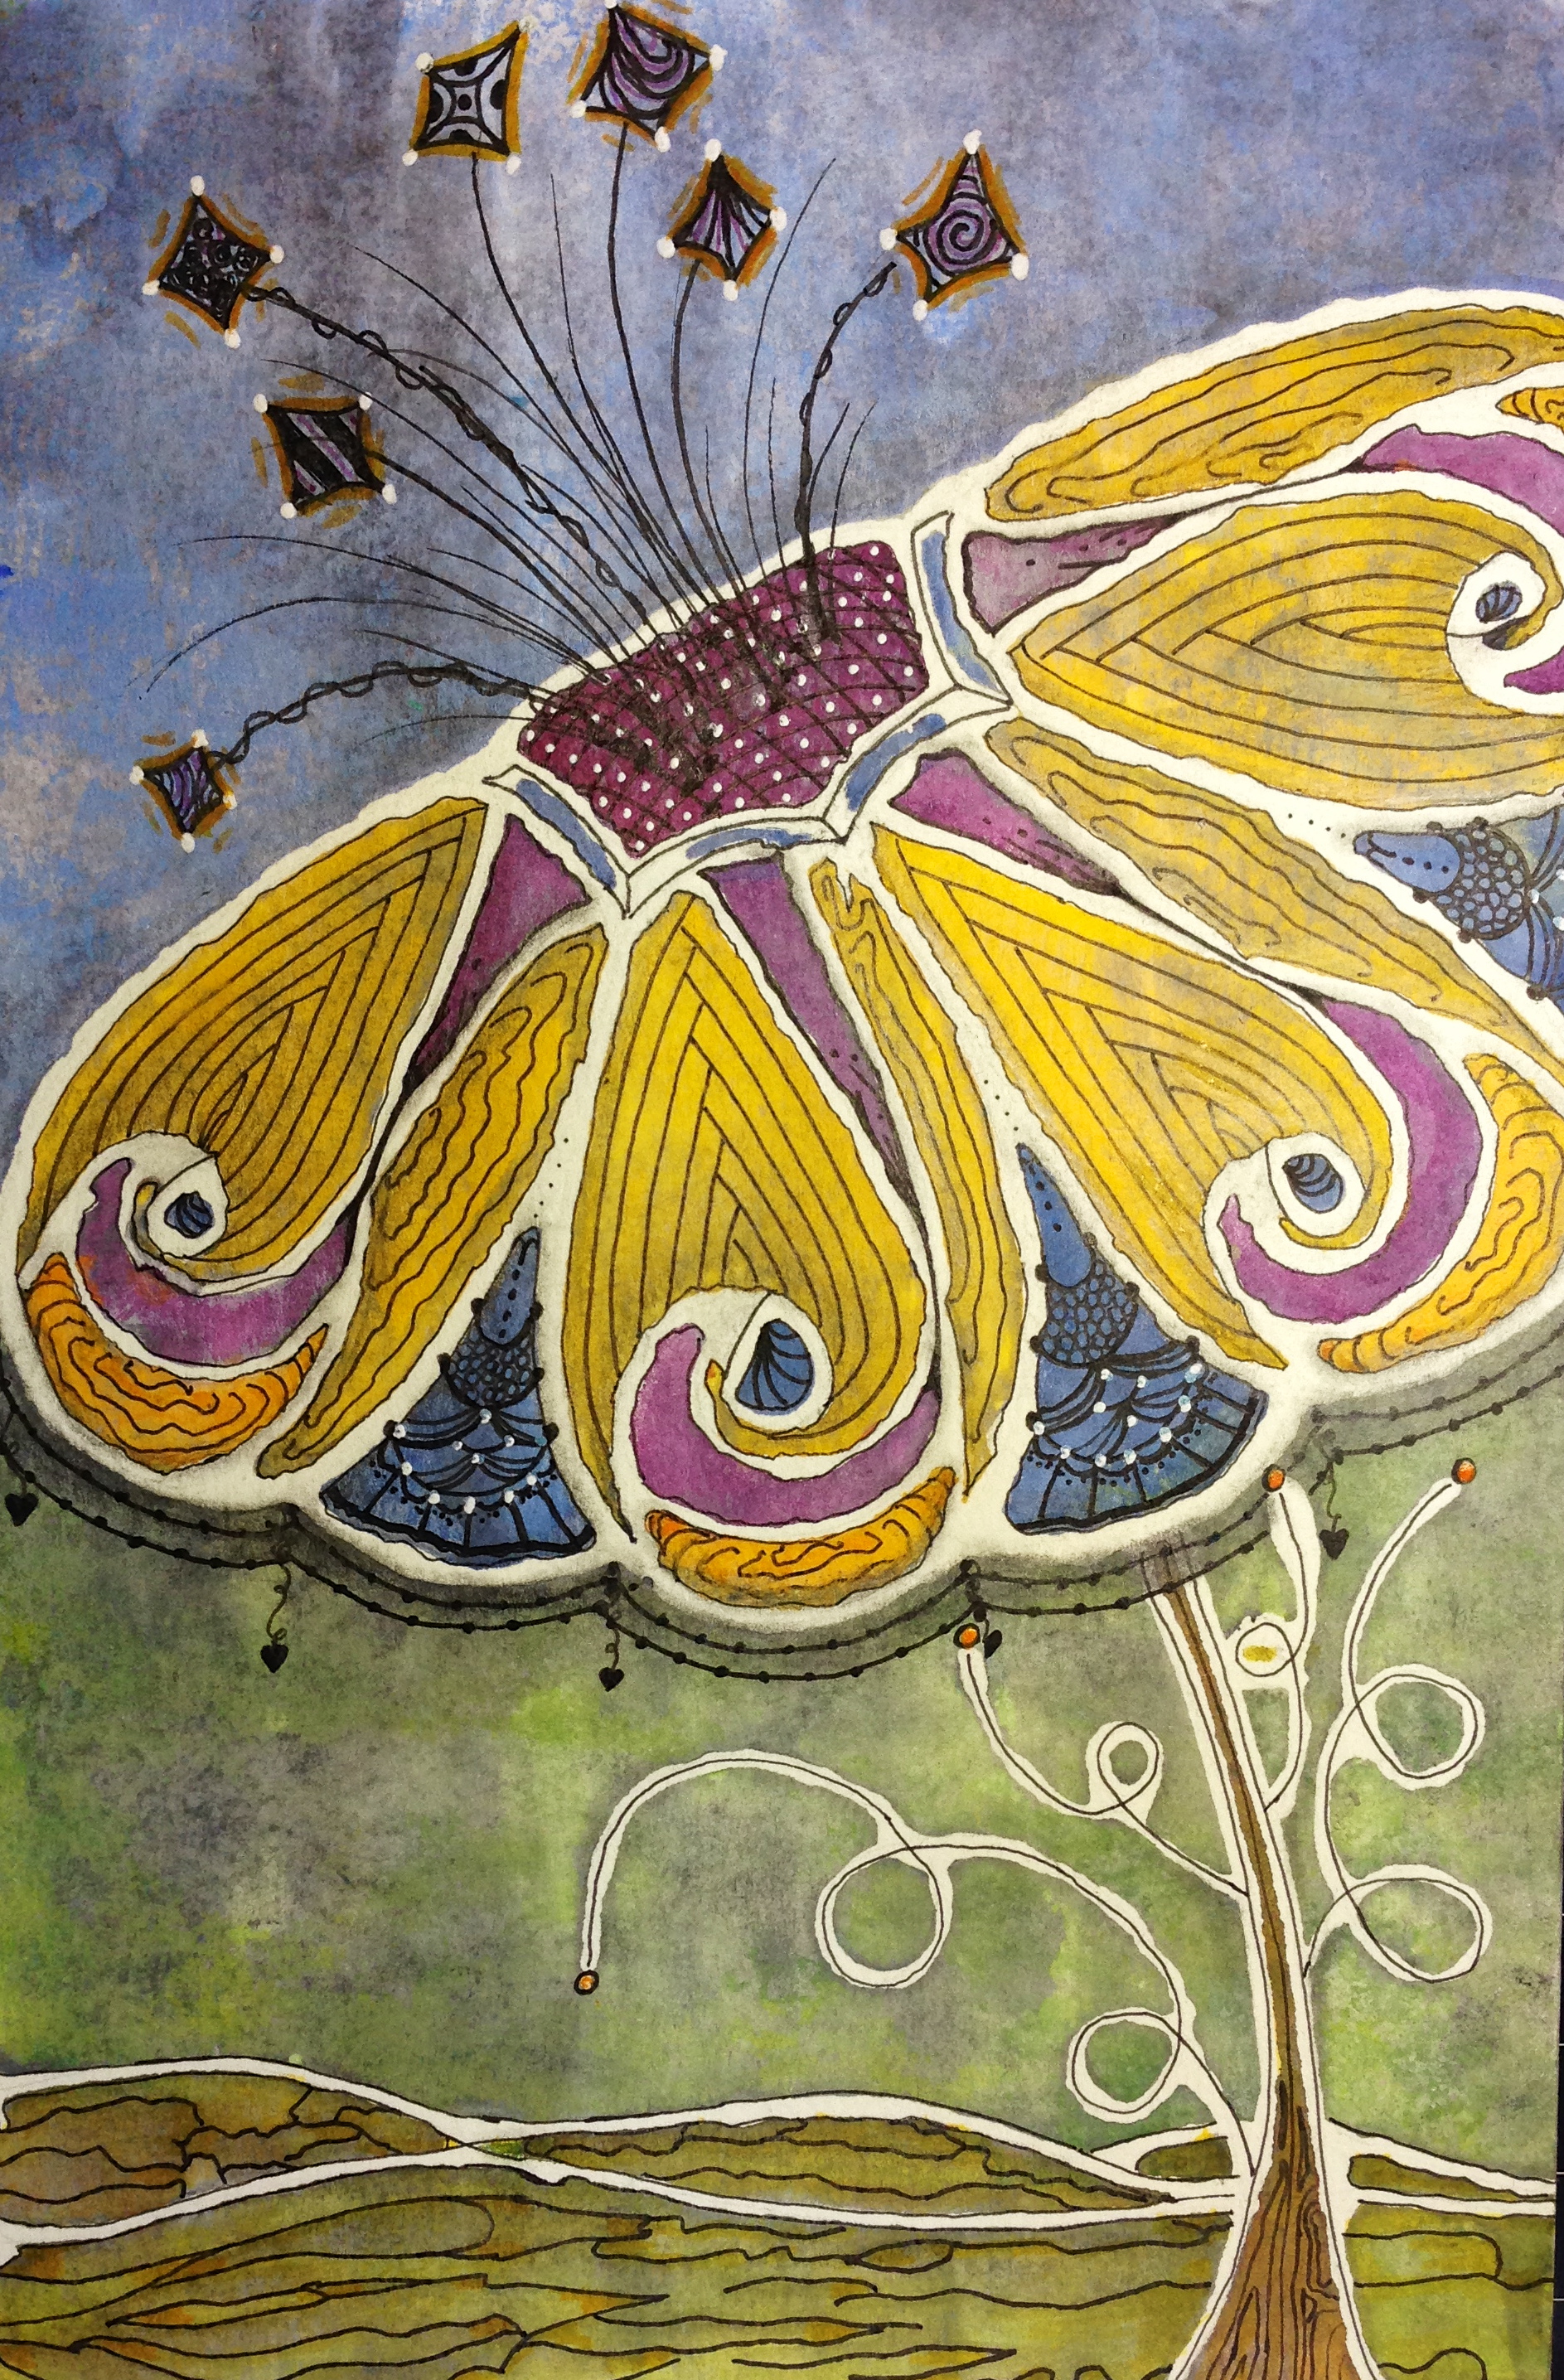
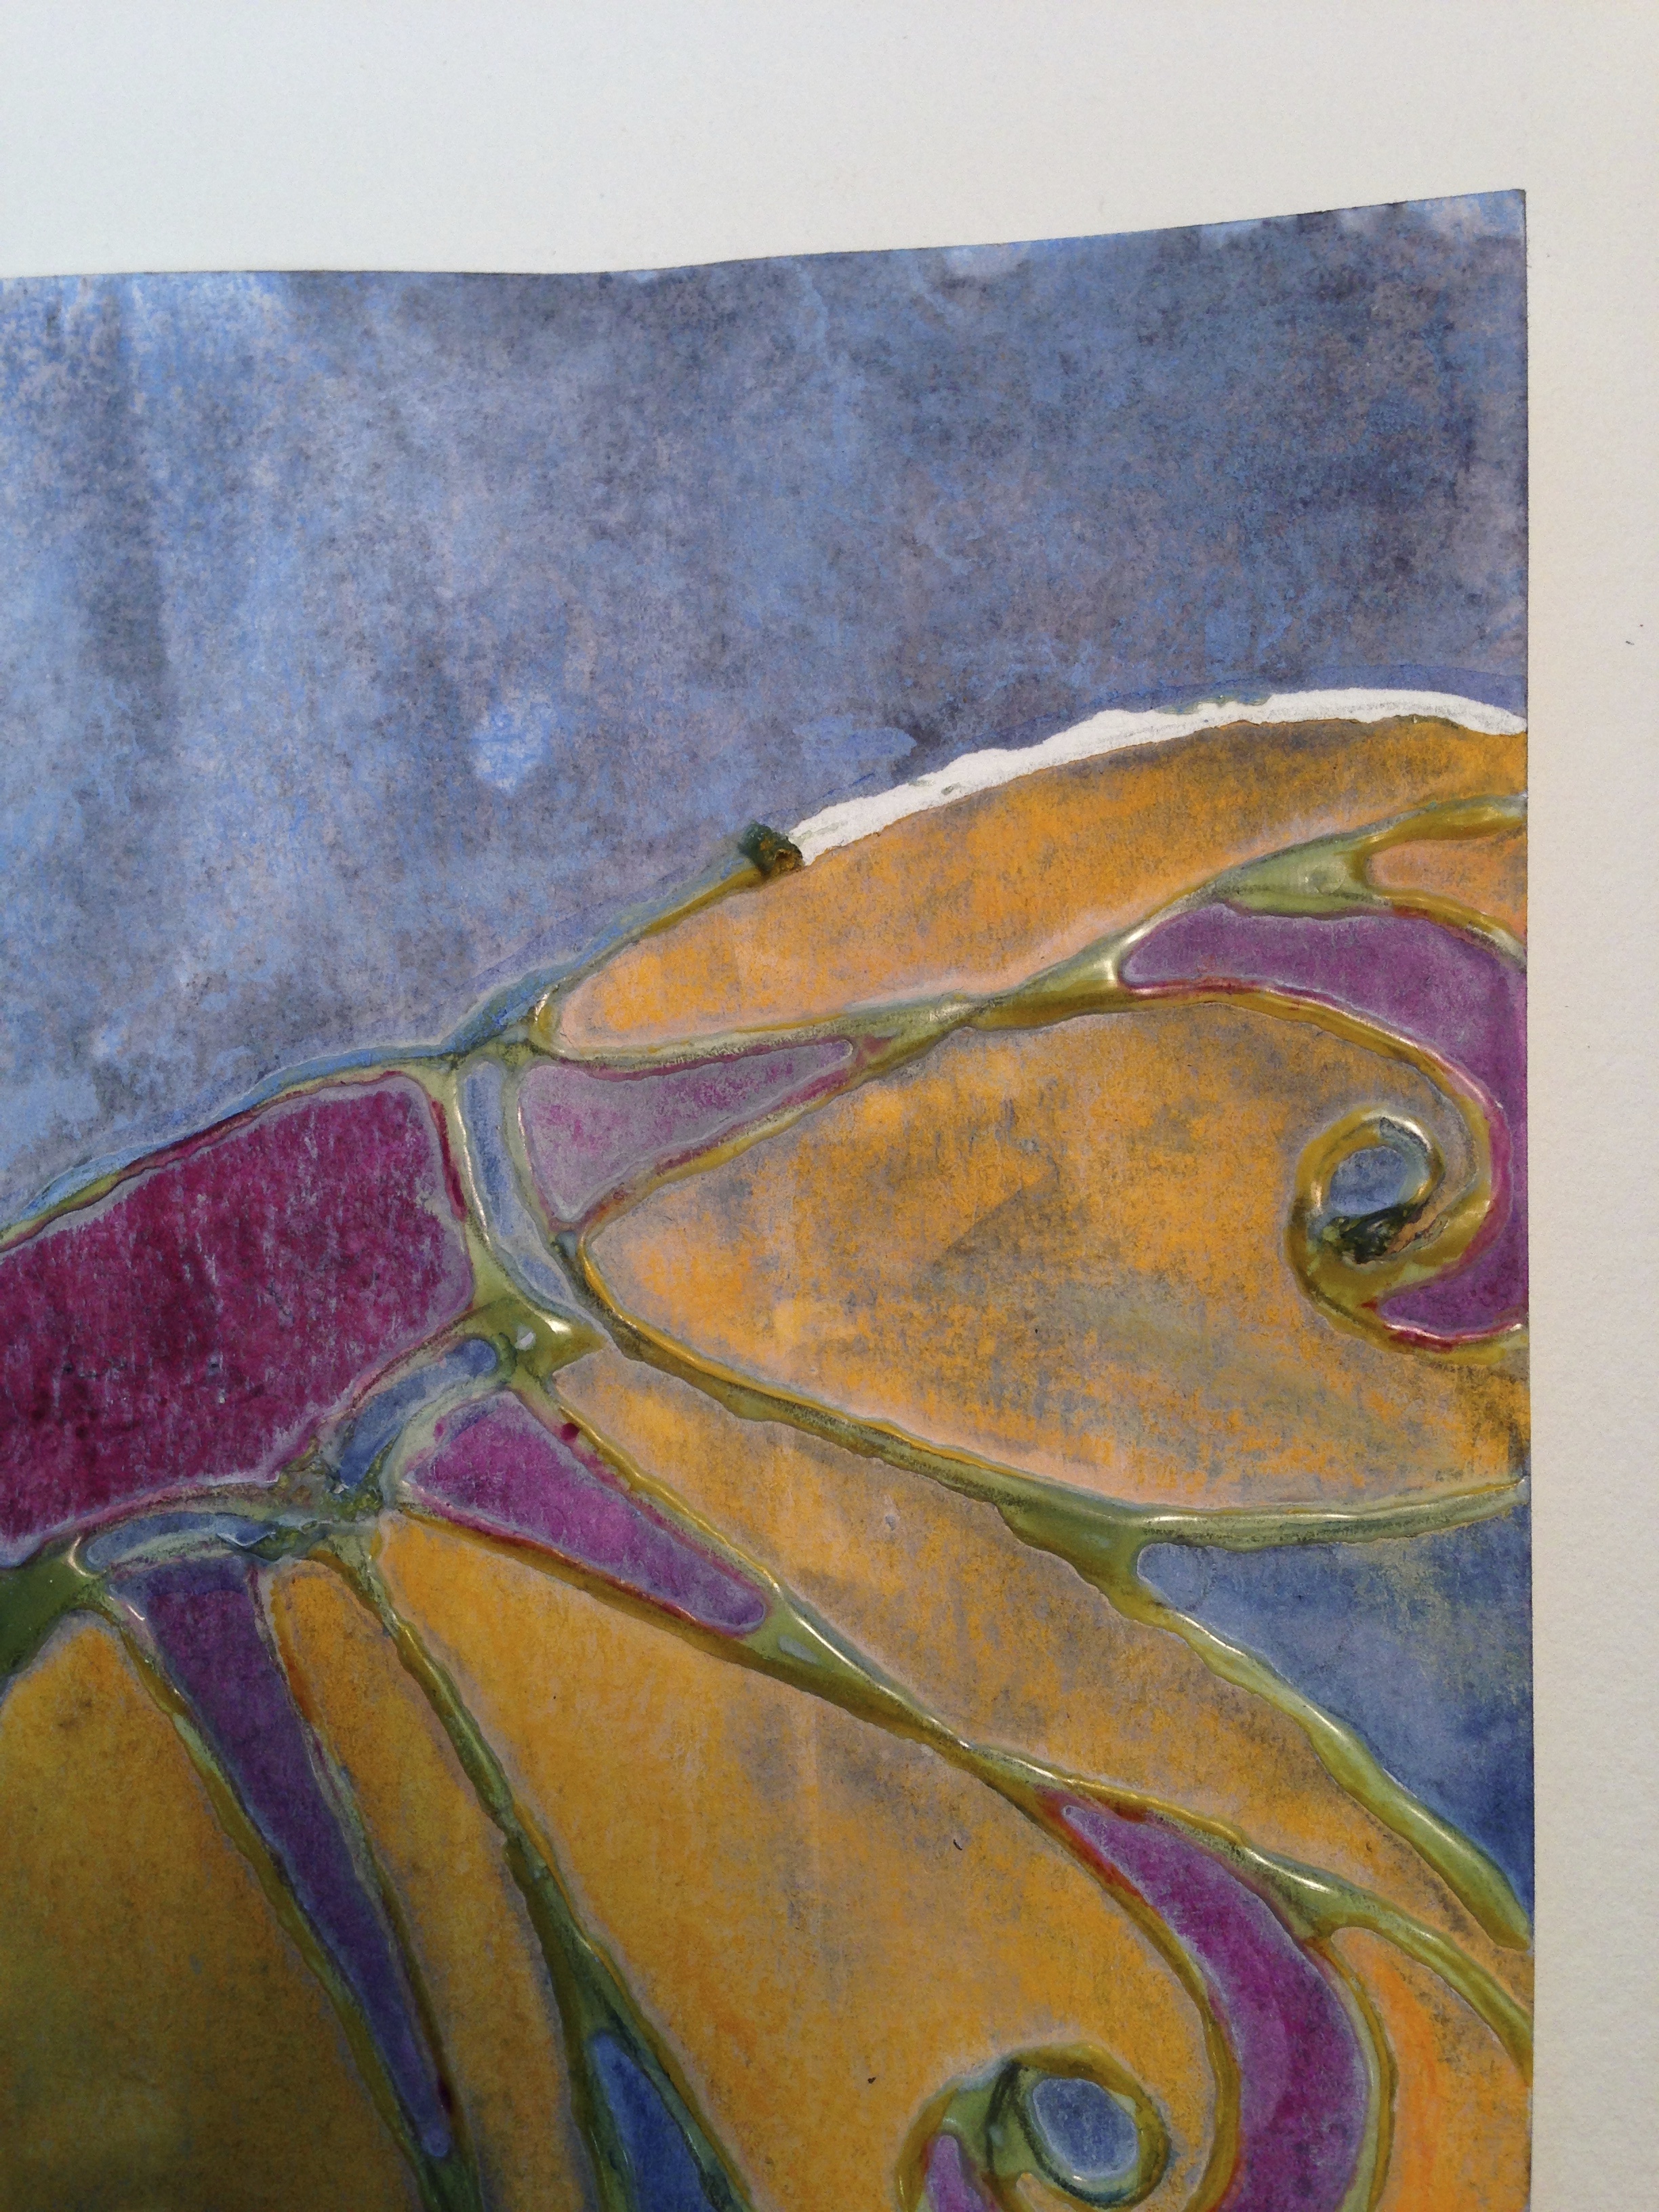
From there it was just a matter of making marks and lines with the Micron pen. I’d outline, dot, and basically make general marks then set it aside and come back later and make more lines, dots and some shading with a #2 pencil until it was done. I had just purchased a bottle of Indian Yellow FW Acrylic Ink (stunning color) so I took this opportunity to thin it down and highlight the grassy area. I have a lot more miscellaneous supplies I wanted to use but stopped myself 😉
This truly is a fun and surprising project. Try a small picture if you’re not sure whether or not you’ll like it or, like me, are sensitive to using supplies on something you may not like (I’m working on getting over this).
Enjoy!
