
Wood Book Cover from Hardwood Flooring
At the next Atlanta Book Arts Collective’s monthly meeting one of our members is teaching us how to make Coptic Endbands. The word went out that we needed boards.
Picture a spinning top that has swirls of color – that was my mind. Never mind what the intent was – I heard boards. To me, at that moment, a board was wood and I pictured Daniel Essig’s work. I didn’t have a board. What could I fabricate? The Top was spinning at warp speed by this time.
One thing led to another and I asked my husband cut a piece of left over hard wood flooring into 4 – 6″ lengths. He did. I glued two each together with wood glue – I had the beginning of two wood book covers (boards).
 |
| 4 1/2″ x 5 5/8″ x 1 5/8″ |
Basic Wood Cover Process:
Glue two 6″ long pieces of wood flooring side by side
Remove unneeded tabs
Sand all edges and sides
Do what you will with it
 |
| The pattern of the drilled holes and associated tunnels can be seen below. |
 |
| Wrapped Long Stitch – 8 Signatures |
 |
| Edges were filled with bits of tumbled Abalone Shell. The signature sheets (4/signature) were torn to size from a large artist’s paper tablet. |
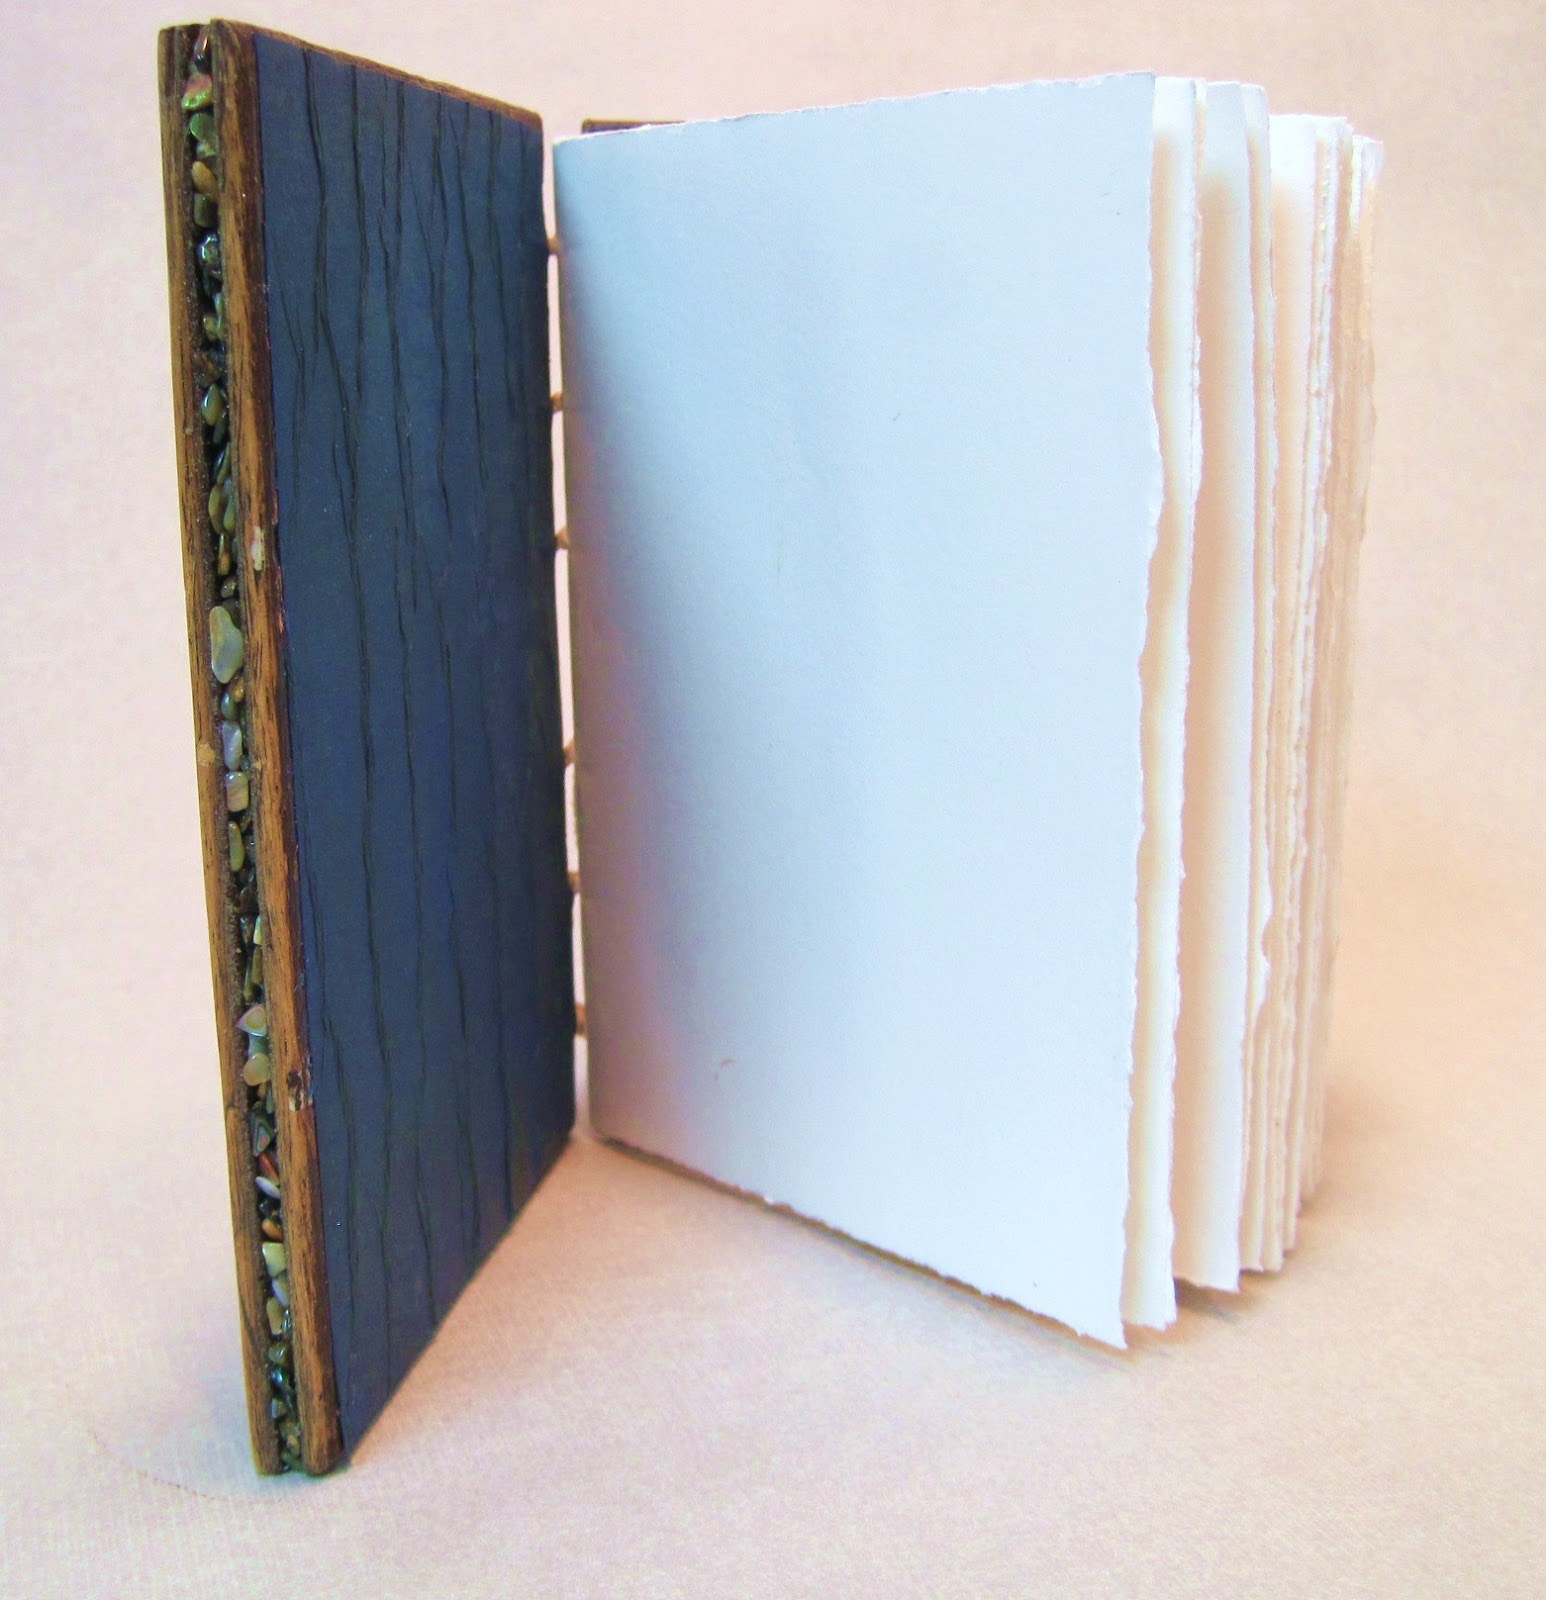 |
| This is the inside of the cover. I always want to see inside the covers on books and artists usually just let us see the outside. Making grooves for the threads to lie in makes them invisible when covered with paper. |
– I sanded the sides.
– Made grooves in the wood using my Dremel (front and backs) so all stitches would sit in the grooves and not create unsightly bumps in the cover paper.
– Cut out a window that recesses halfway into the wood (I used a way cool Dremel Trio)
– Painted insides the recess, glued a sand dollar, sea oats and chips of mica
– Cut mica for the window and nailed it in place with copper nails
– Glued tiny pieces of tumbled abalone shell inside the front edges of the covers
– Sewed the signatures in a gathered long stitch
– Sewed a “caterpillar” on the front and back
– Assembled
 |
| Planning is important here. The holes for the Caterpillar Stitch were made at the same time the holes were drilled for the binding. |
 |
| The holes and tunnels for the binding are to the left. The holes and tunnels for the threads between the stitching for the Caterpillar Stitch go across the board. The white substance is modeling paste used to fill in grooves made during the manufacture of the wood flooring. |