
Privacy Screen repurposed into a Headboard
Privacy Screen repurposed into a Headboard
First things first – two finished products (headboard and night stand)….
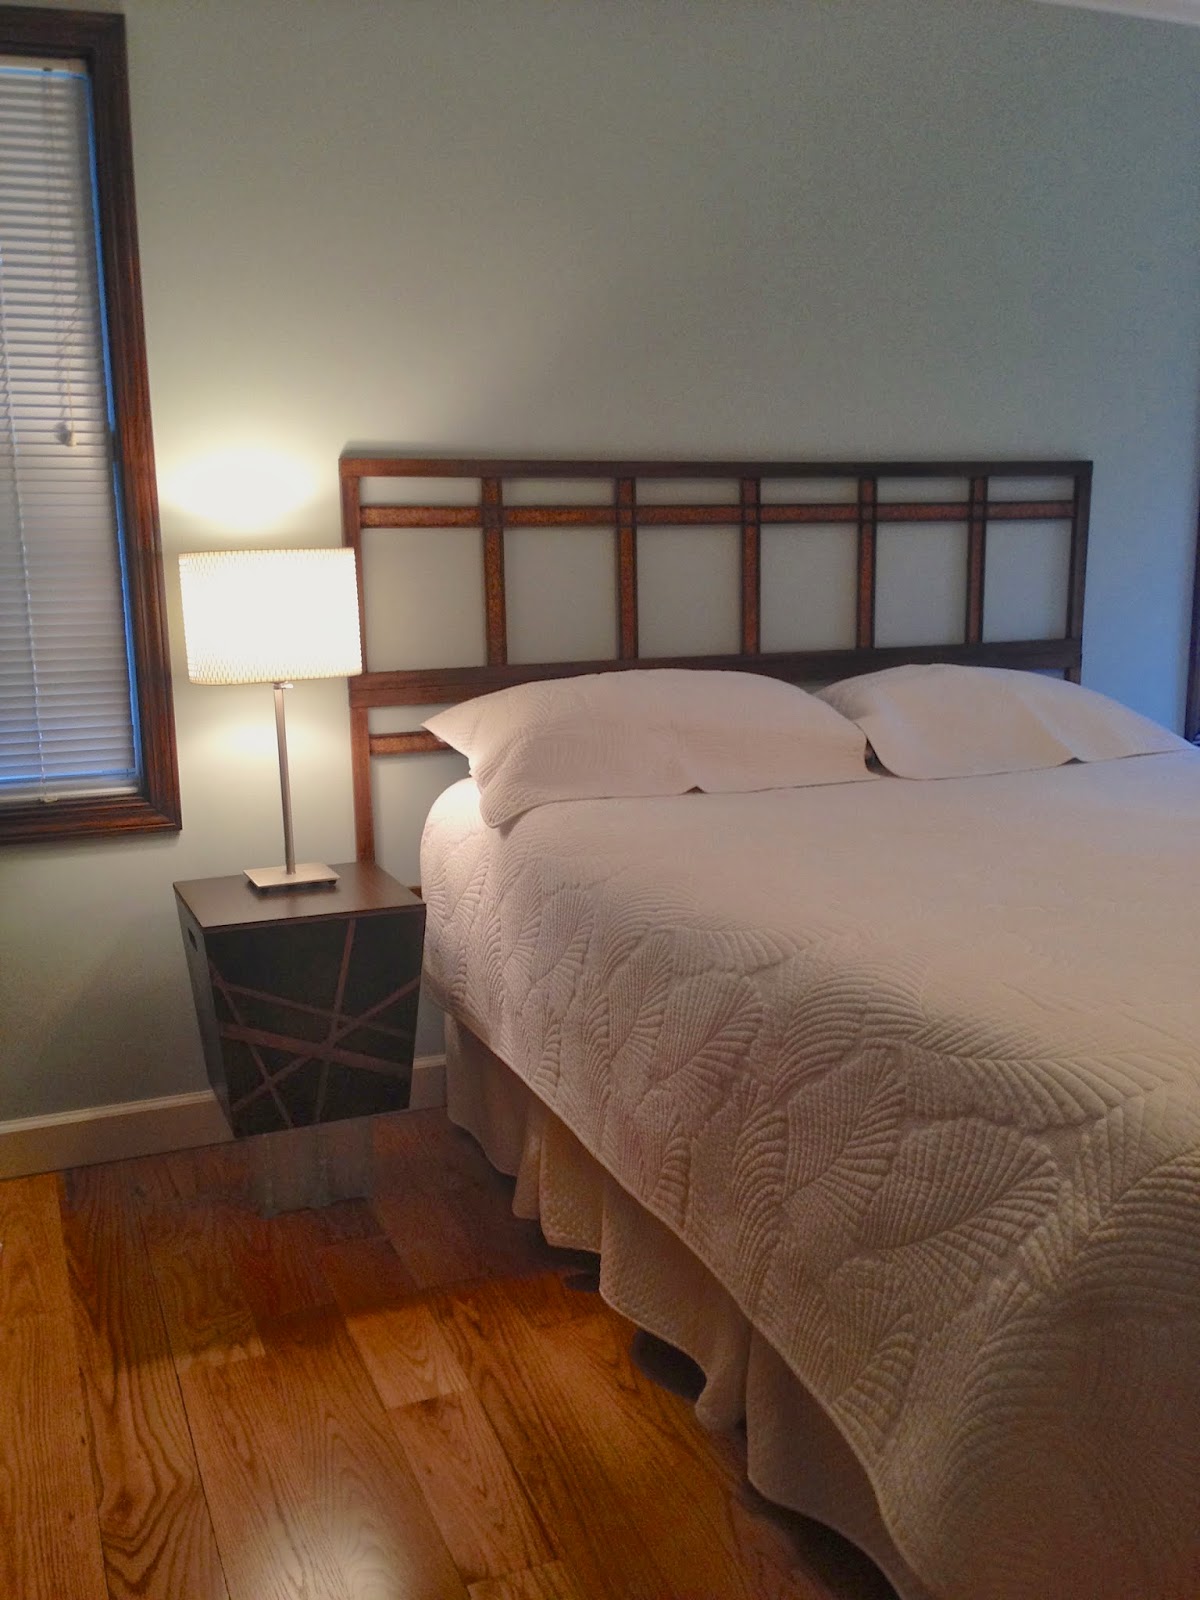 |
| I just finished making the side table from an unfinished wood box – that’s the next post. |
I absolutely adore the color we painted our bedroom – Palladian Blue (look the color up on Houzz.com – they have a truer picture of the color). It has a slight grey undertone that changes hue as the day’s light changes.
As I lived with just the painted walls and a bed in the room for months before we were able to move in, I began to dread filling the room and walls with furniture and decor items – hiding the restful wall color.
So I started looking for a “fretwork” headboard – open wood work that would let the wall color show thru. They’re not trendy right now so it wasn’t easy finding them. When I did find one online – they were only available online and not available for viewing in showrooms. I’m not buying such a large purchase without touching it. So, I held off (and it was killing me).
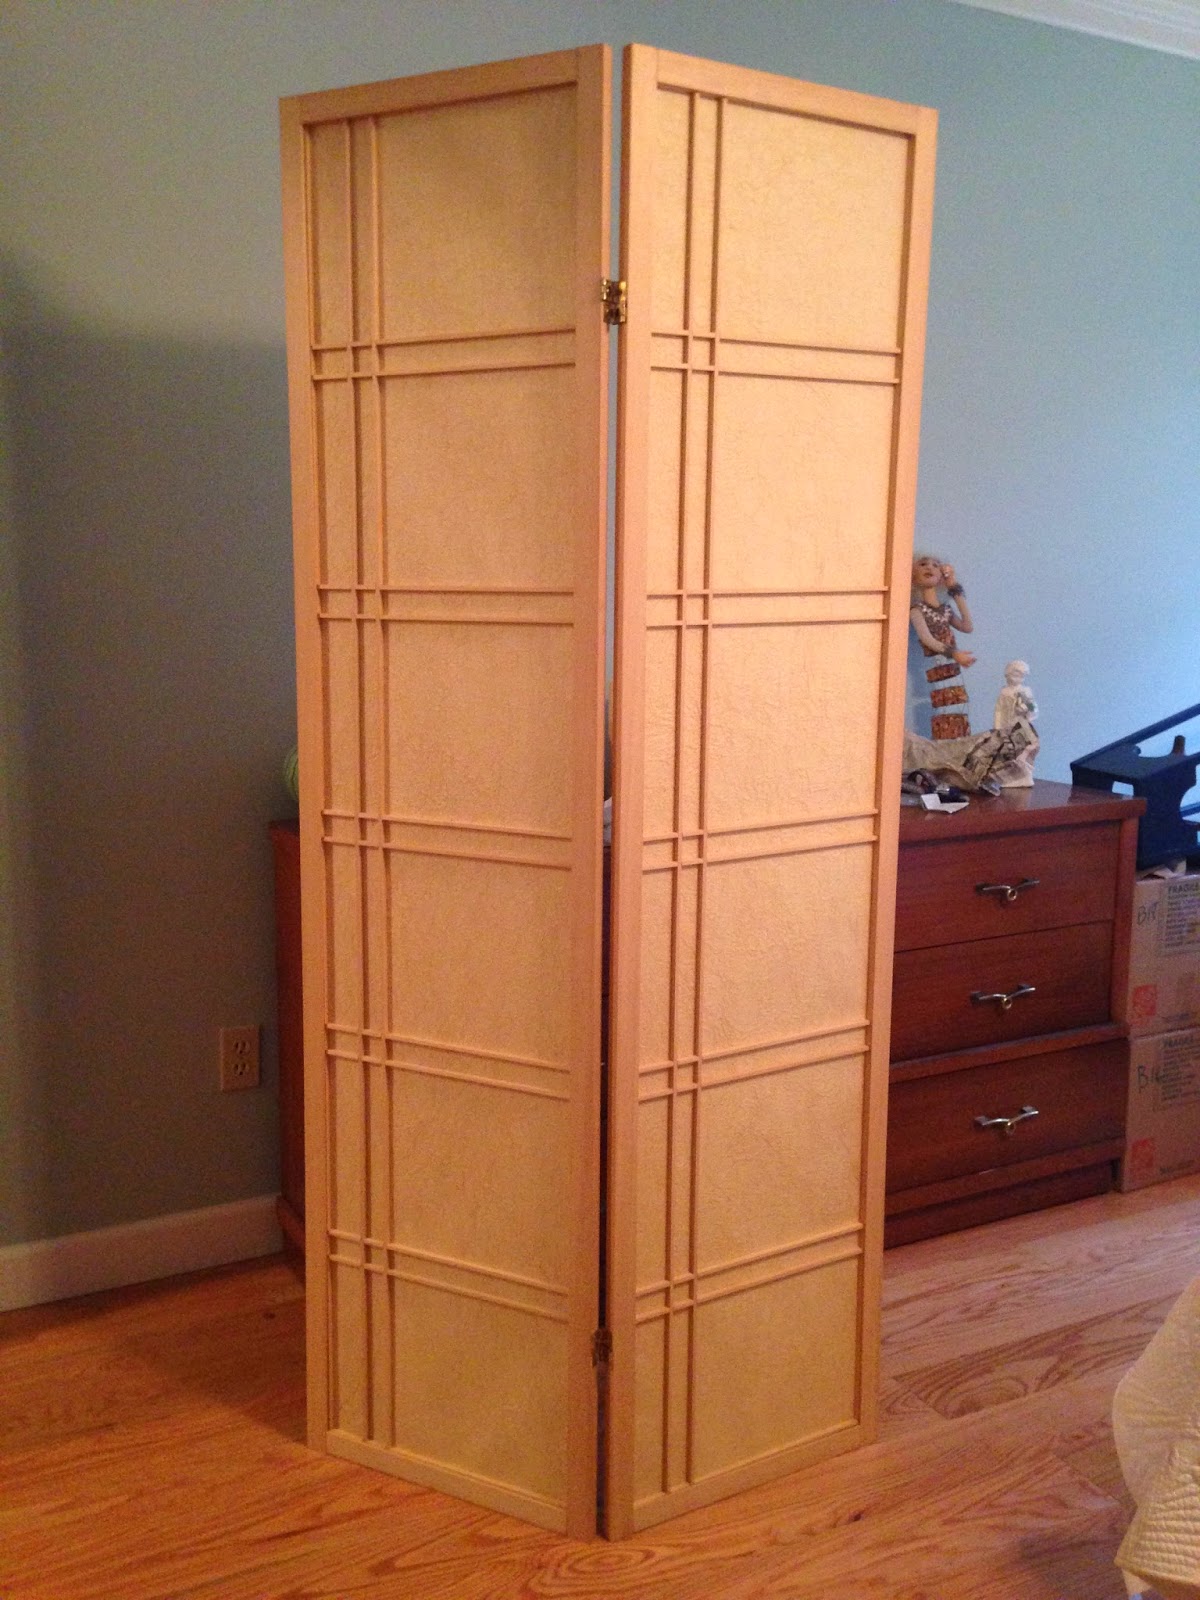
When we unloaded the attic in preparation for moving I found this privacy screen that had been up there for about 10 years (I know, I know, I REALLY hold on to stuff). (It had three panels held together with hinges but I had already taken one off before I remembered to take a picture)
 |
|
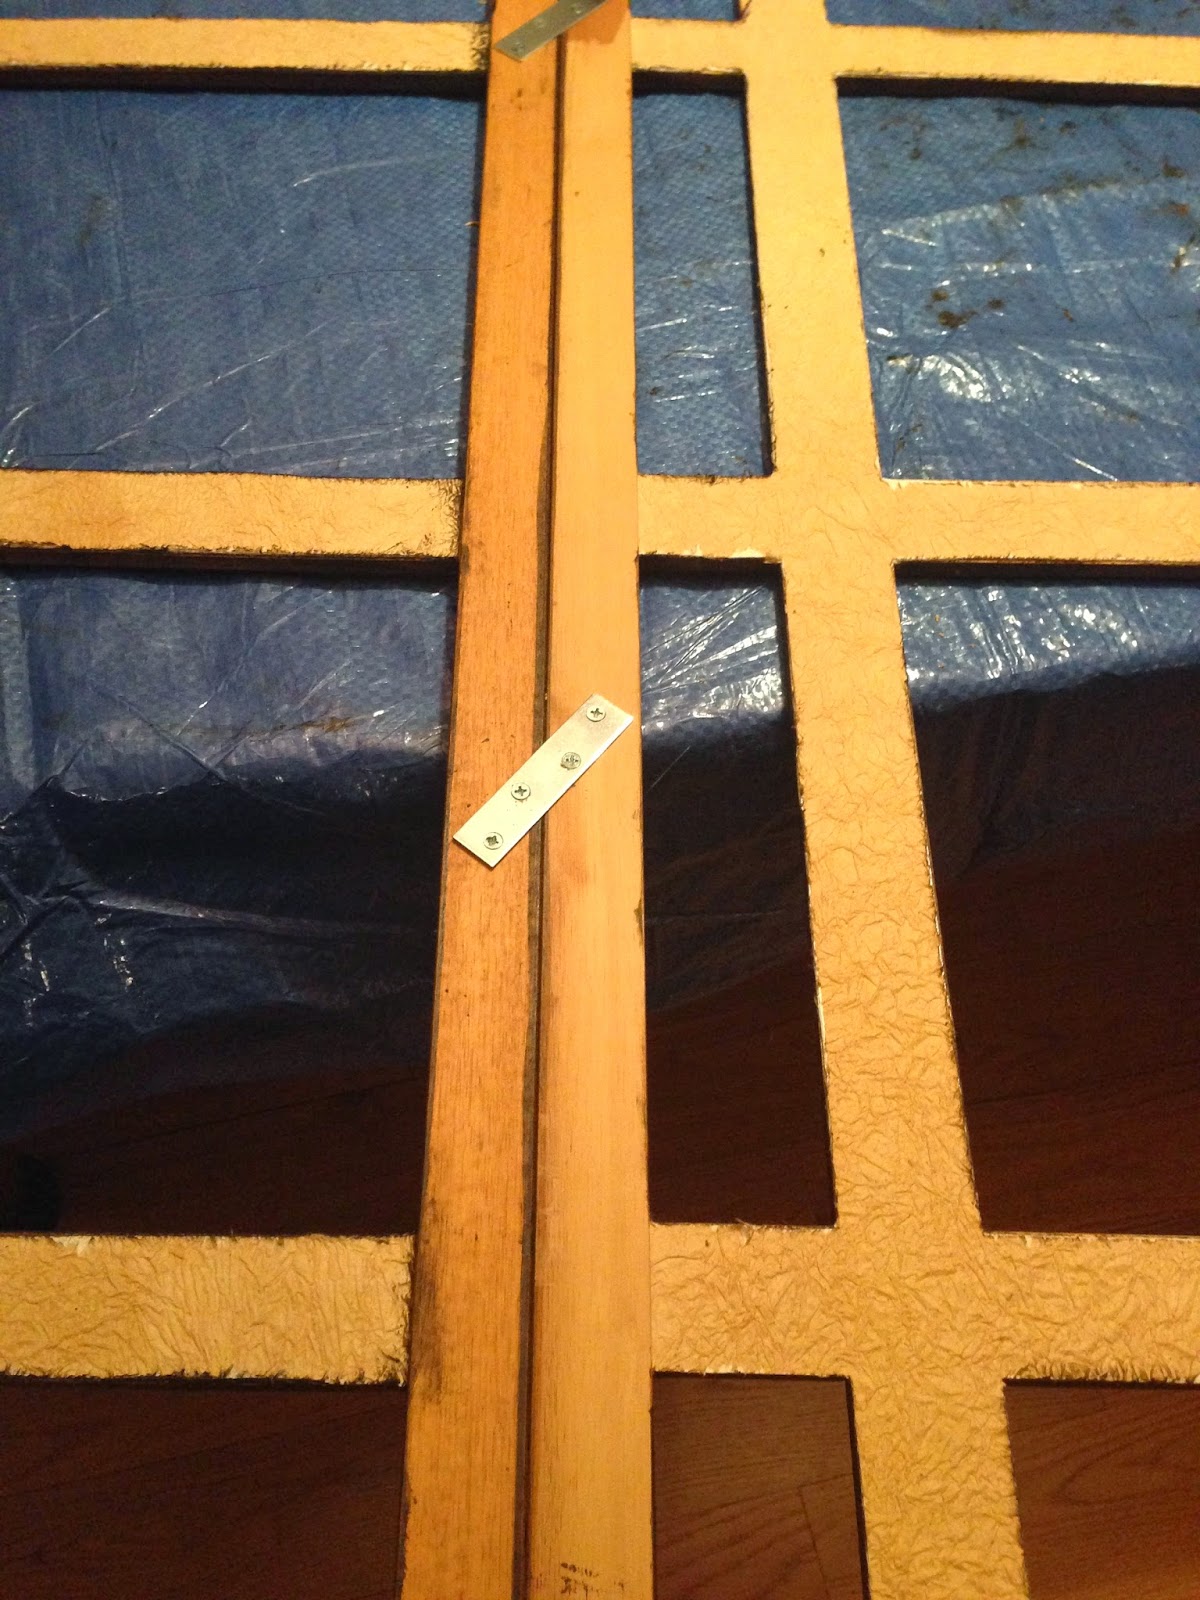
It’s made of a light weight wood, backed by paper. I didn’t discover until cutting out the sections that – what appeared as a solid sheet of handmade paper backing each panel – was actually a hard foam type panel covered on both sides with the paper.
|
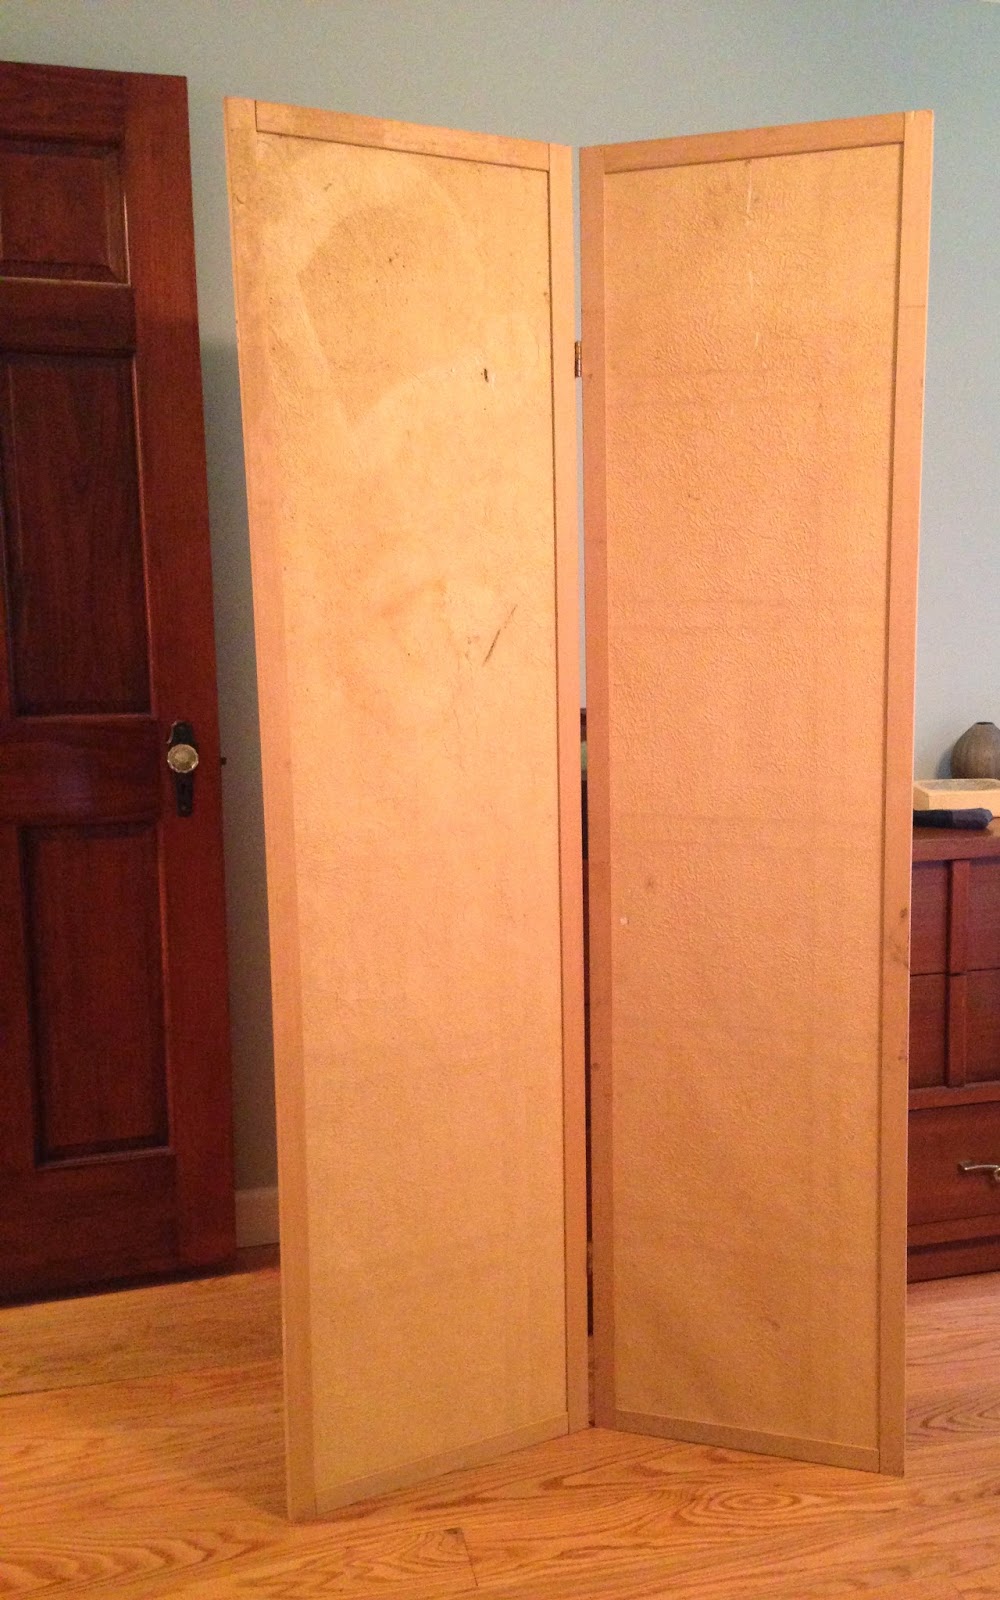 |
| Back of panels |
 |
| Panel after cutting out large sections and before staining |
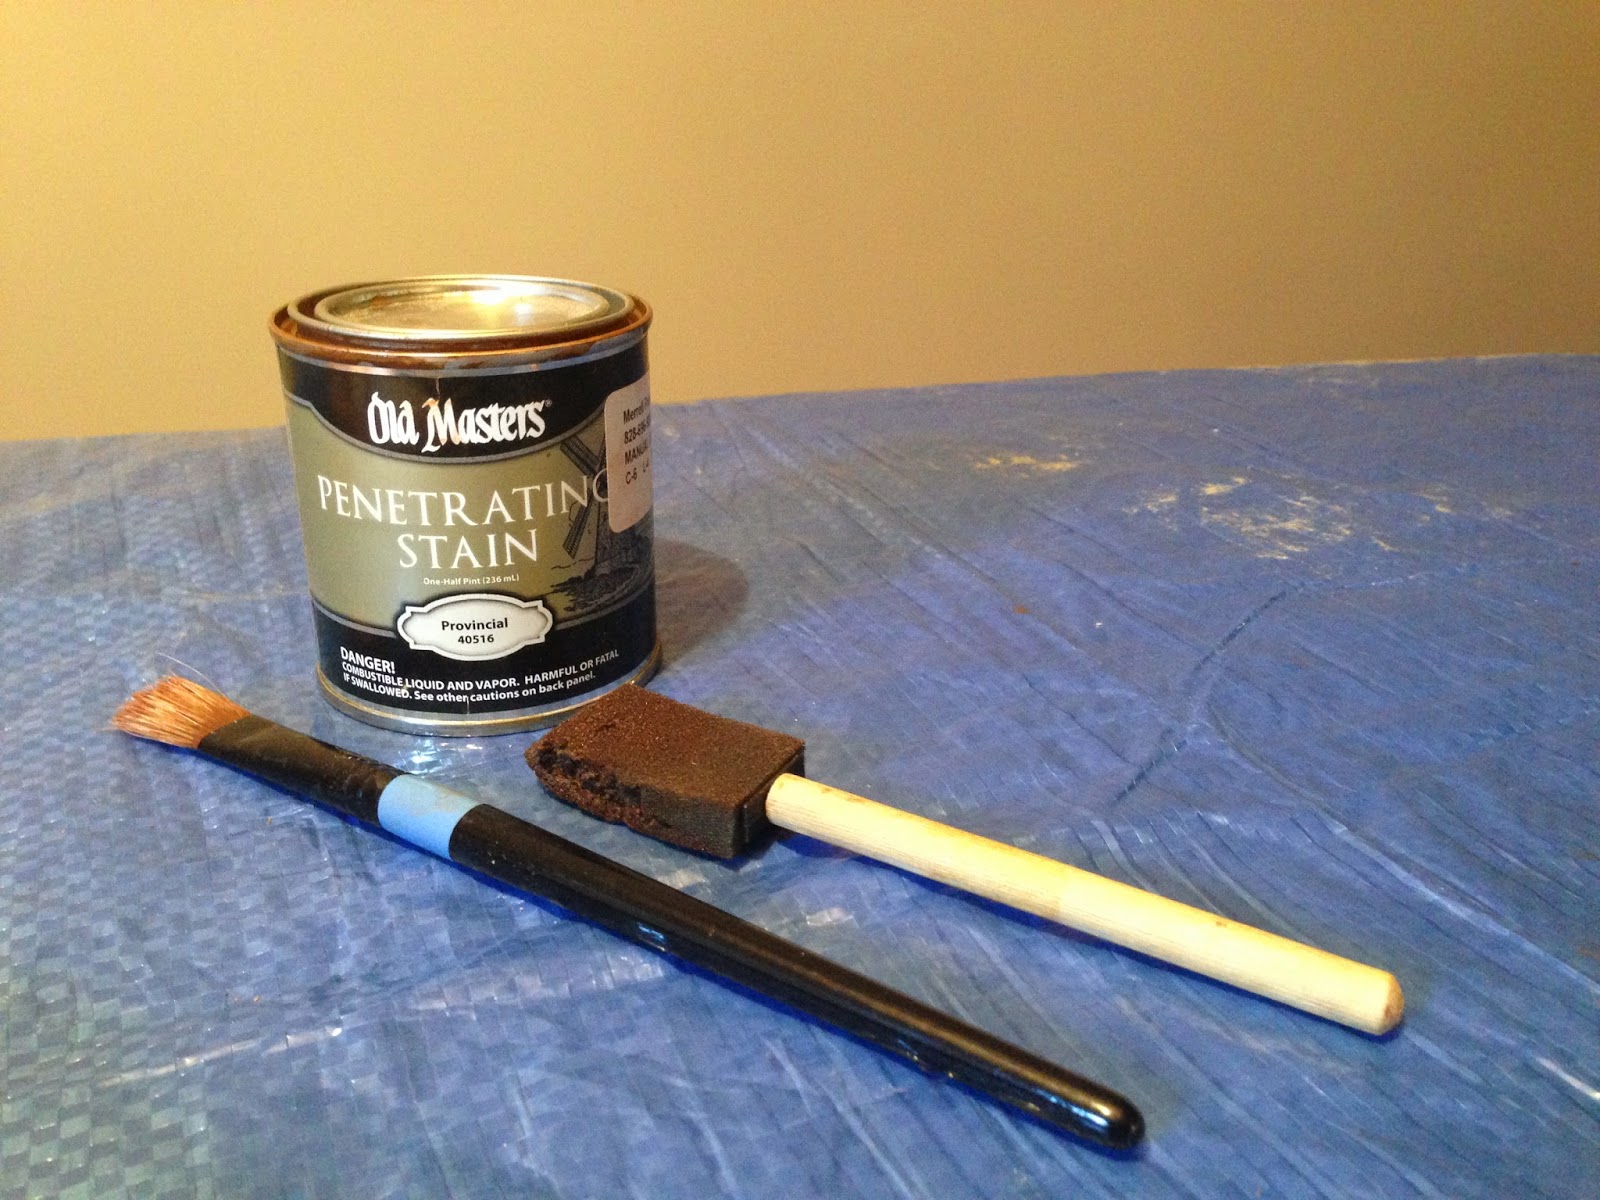
I cut out the paper/foam panel that covered the larger sections of the panels. The remaining paper backed sections and wood were stained.
 |
| I didn’t stain the back |