
Leather Covered Slip Case for Antique Book
One of the reasons I was interested in Jana Pullman’s class was that I wanted to make a slip case for a 1966 Instrument Flying Handbook I found at a yard sale. I have reclaimed airplane seat leather I want to use as a cover. The leather is VERY thick and I was hoping for some pointers on paring it.
As one thing generally leads to another – my friend let me borrow an antique book (I’ve kept it for a little while). To repay his generosity I wanted to make a leather covered slip case for it (I got the book from him in a plastic grocery bag!). Having never made a leather covered slip case didn’t matter (that’s the way it is with me sometimes – it justifies the need to enlarge my knowledge base).
I made the slip case at home and brought it, and the leather, with me to Arrowmont last week. Jana didn’t mind answering questions. I’m not one to do a lot of prototypes. When I get an idea I like to make it and move on. I had enough of this beautiful leather to make a couple of mistakes (after all it covered a whole cow). So Wednesday night after dinner I went back to the classroom (they keep the classrooms open until 1:00 am) and covered it.
I’m still not sure if it’s right. But it’s right for now.
Before I go further, and this gets lost in a long post, I want share a post by Roger Grech of Papercut Bindery documenting his process of putting a leather cover on a book. It’s one of the best and most concise I’ve seen http://papercutbindery.blogspot.com/
Book: The Life of Man – 1866
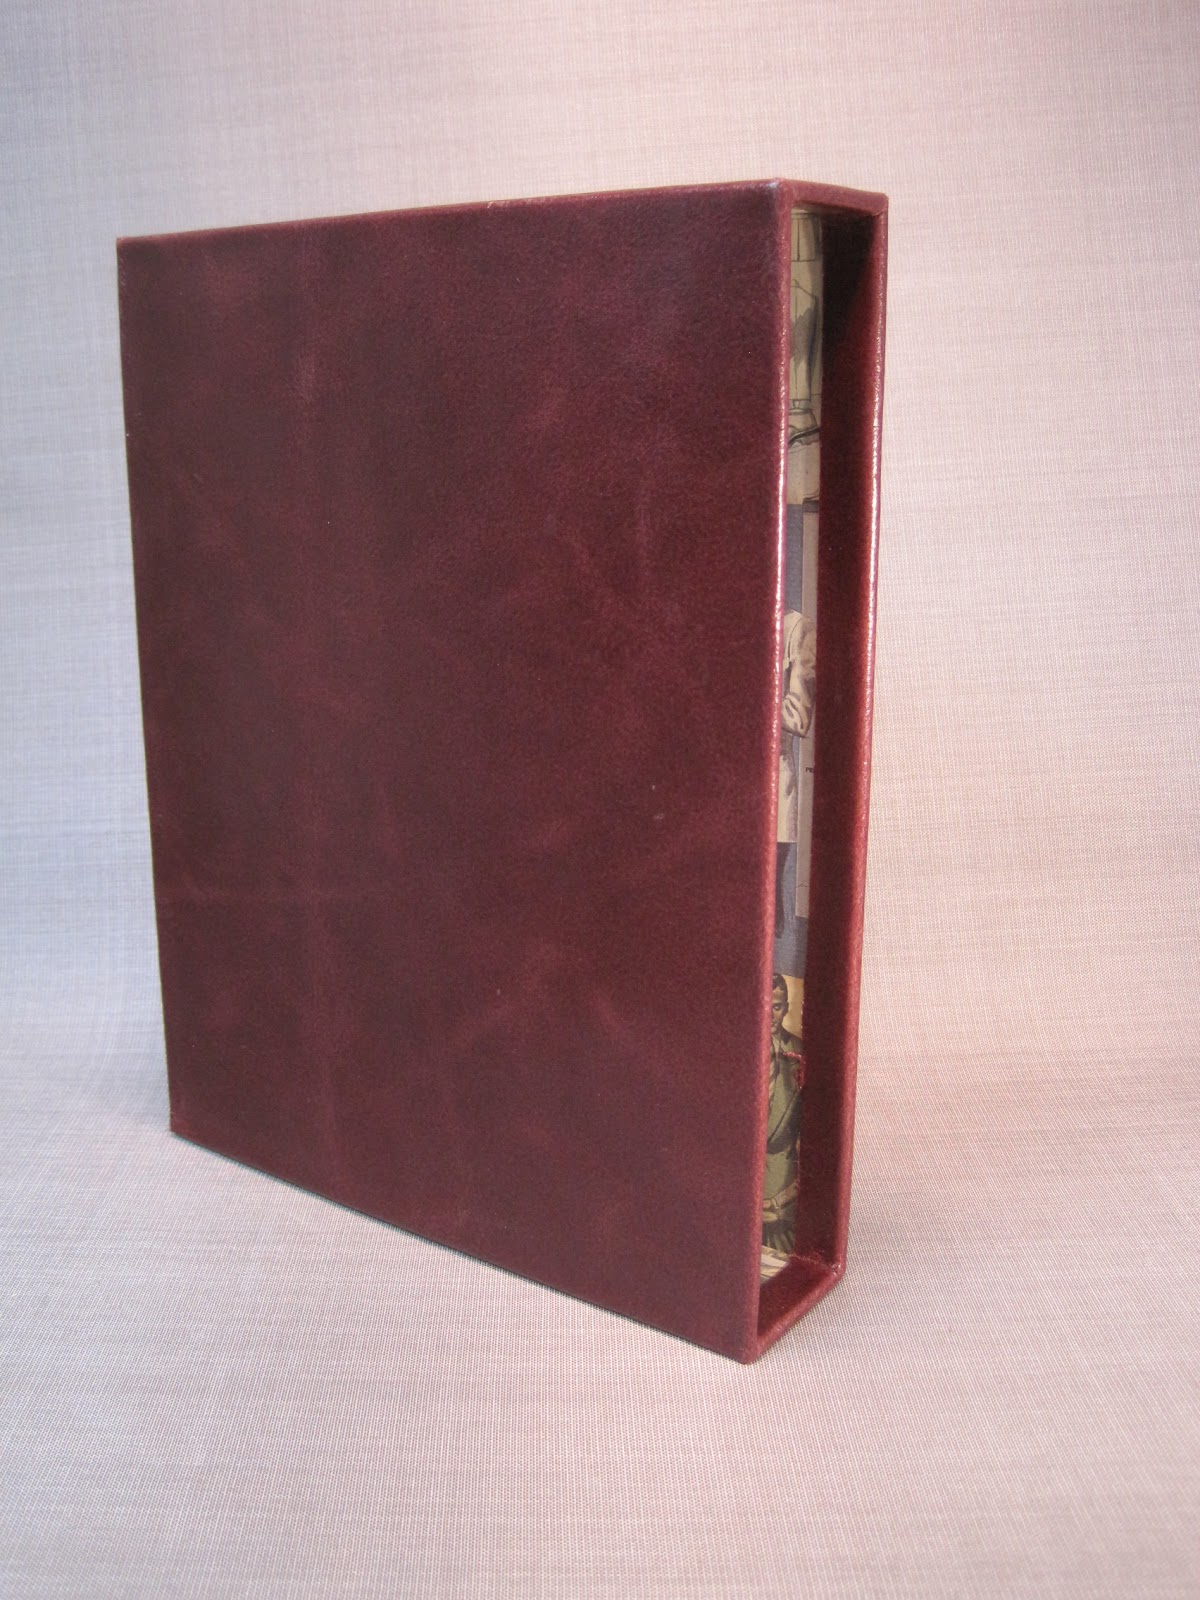
Materials: binders board, decorative paper, leather dyed a beautiful, rich, Burgundy, PVA glue (I will never use straight PVA when gluing leather again – it sets too fast)
 |
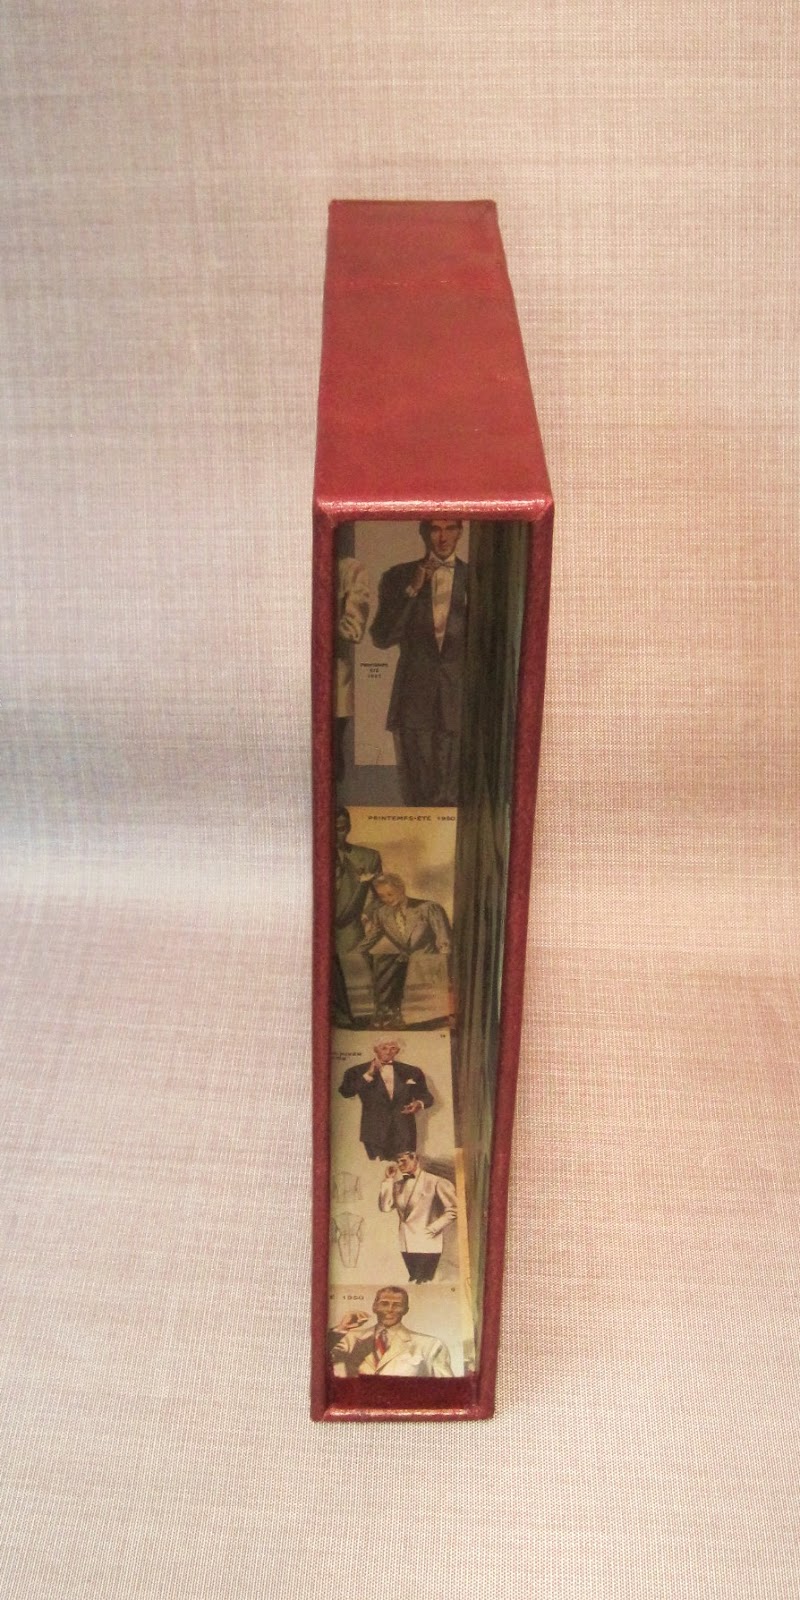
| The Life Of Man in it’s new slip case 11 3/4″ x 9 3/4″ x 2 1/8″ |
Design thoughts:
– I wanted something different for the inside. This decorated paper depicts men in fashionable wear.
I glued the paper to the board with PVA prior to cutting it (I used a roller to apply glue).
– The Burgundy leather enhances the green and gold colors in the book’s cover
Assembly:
I struggled most with the direction the leather should wrap around the slip case….
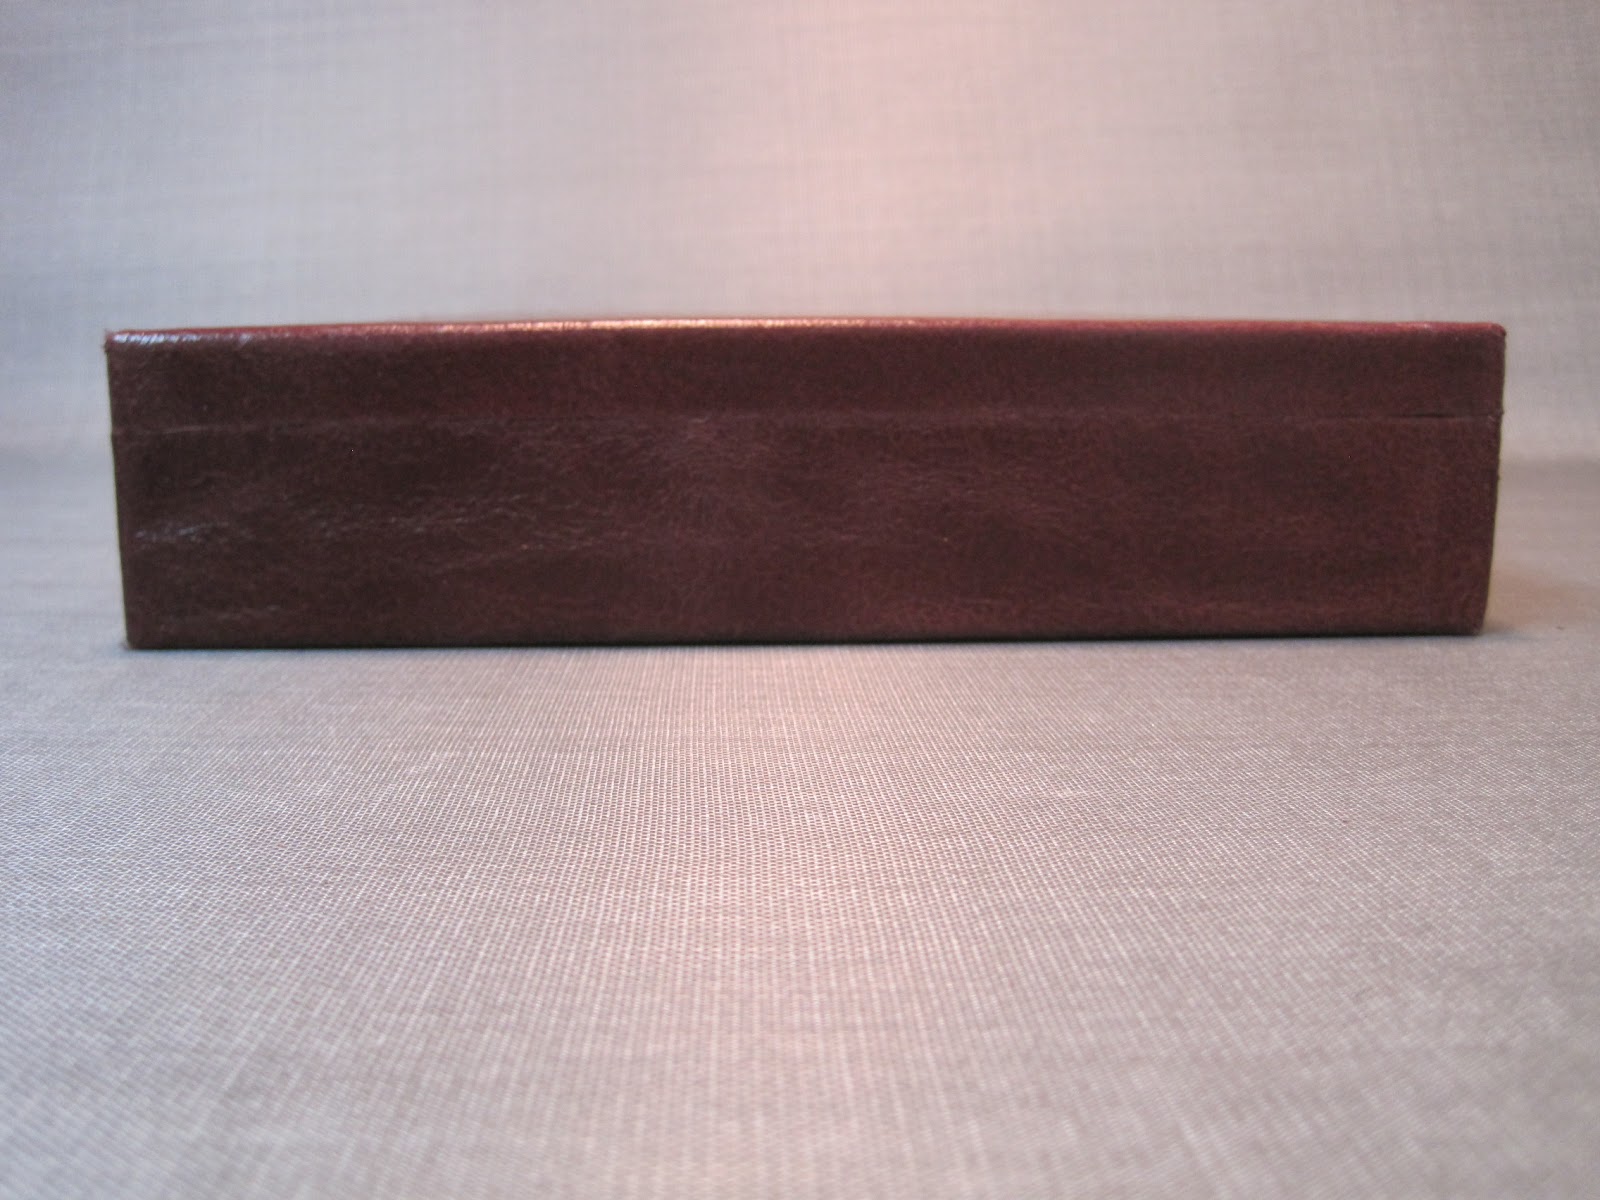
– I chose to wrap the leather around the top of the slip case, joining at the back and the bottom.
My thinking on this was that a seam would not be seen when the case was sitting on the shelf – it would be at the back or bottom of the case.
– The leather was cut using a template I made out of heavy paper. All areas that would wrap around a corner were pared to reduce the thickness of the leather.
This is where I held my breath. I’m sure with practice I could get the leather pared even more thinly. For now there was enough of a variance in the thickness of the leather after paring it that it rounded the corners easier than prior to paring.
– The seams were butted (not sure if that’s the correct term) together, not overlapped. They came together nicely, are flat and can barely be seen.
 |
| Side |
 |
| Top |
 |
| Back |
 |
| Bottom |
Now that I have this off of my mind I need to make another, smaller, slip case and wrap it a different way. Jana said she probably would have wrapped the slip case from the back to the front with the seams on the top and bottom of the case. Then she would have applied a strip of pared leather to the top and bottom covering the seam – barely noticeable as it would be pared to meet the corners. As I get more practice with paring I’ll try different things with leather.
PS: I still haven’t learned how to use my paring knife (that’s for another class). However, I do own a skiver (from Tandy Leather) that worked just fine.
