
Vintage Ballerina Music Box – Renovated
Renovating this Music Box was a lot of fun. In the next few days I’ll post the Tu Tu, Dress-Up Trunk and Tiara Box that were made to go with the music box (some days it a very thin thread for me 😉
Spark (more like an explosion) of an idea: My granddaughter loves to wear her tu tu and spin and sing to music. I thought recovering this music box with a spinning Ballerina for her would be fun. Before I go too far, my children are adults and, with my granddaughter in Miami and me in Atlanta, I don’t spend a lot of time in toy stores (actually any store – unless it has art supplies). If I had I might have realized that they still sell these little boxes and bought one instead 😉
Results First: If I had given myself more time to design and think about this I would have decided on the outside decorations first and worked backwards.


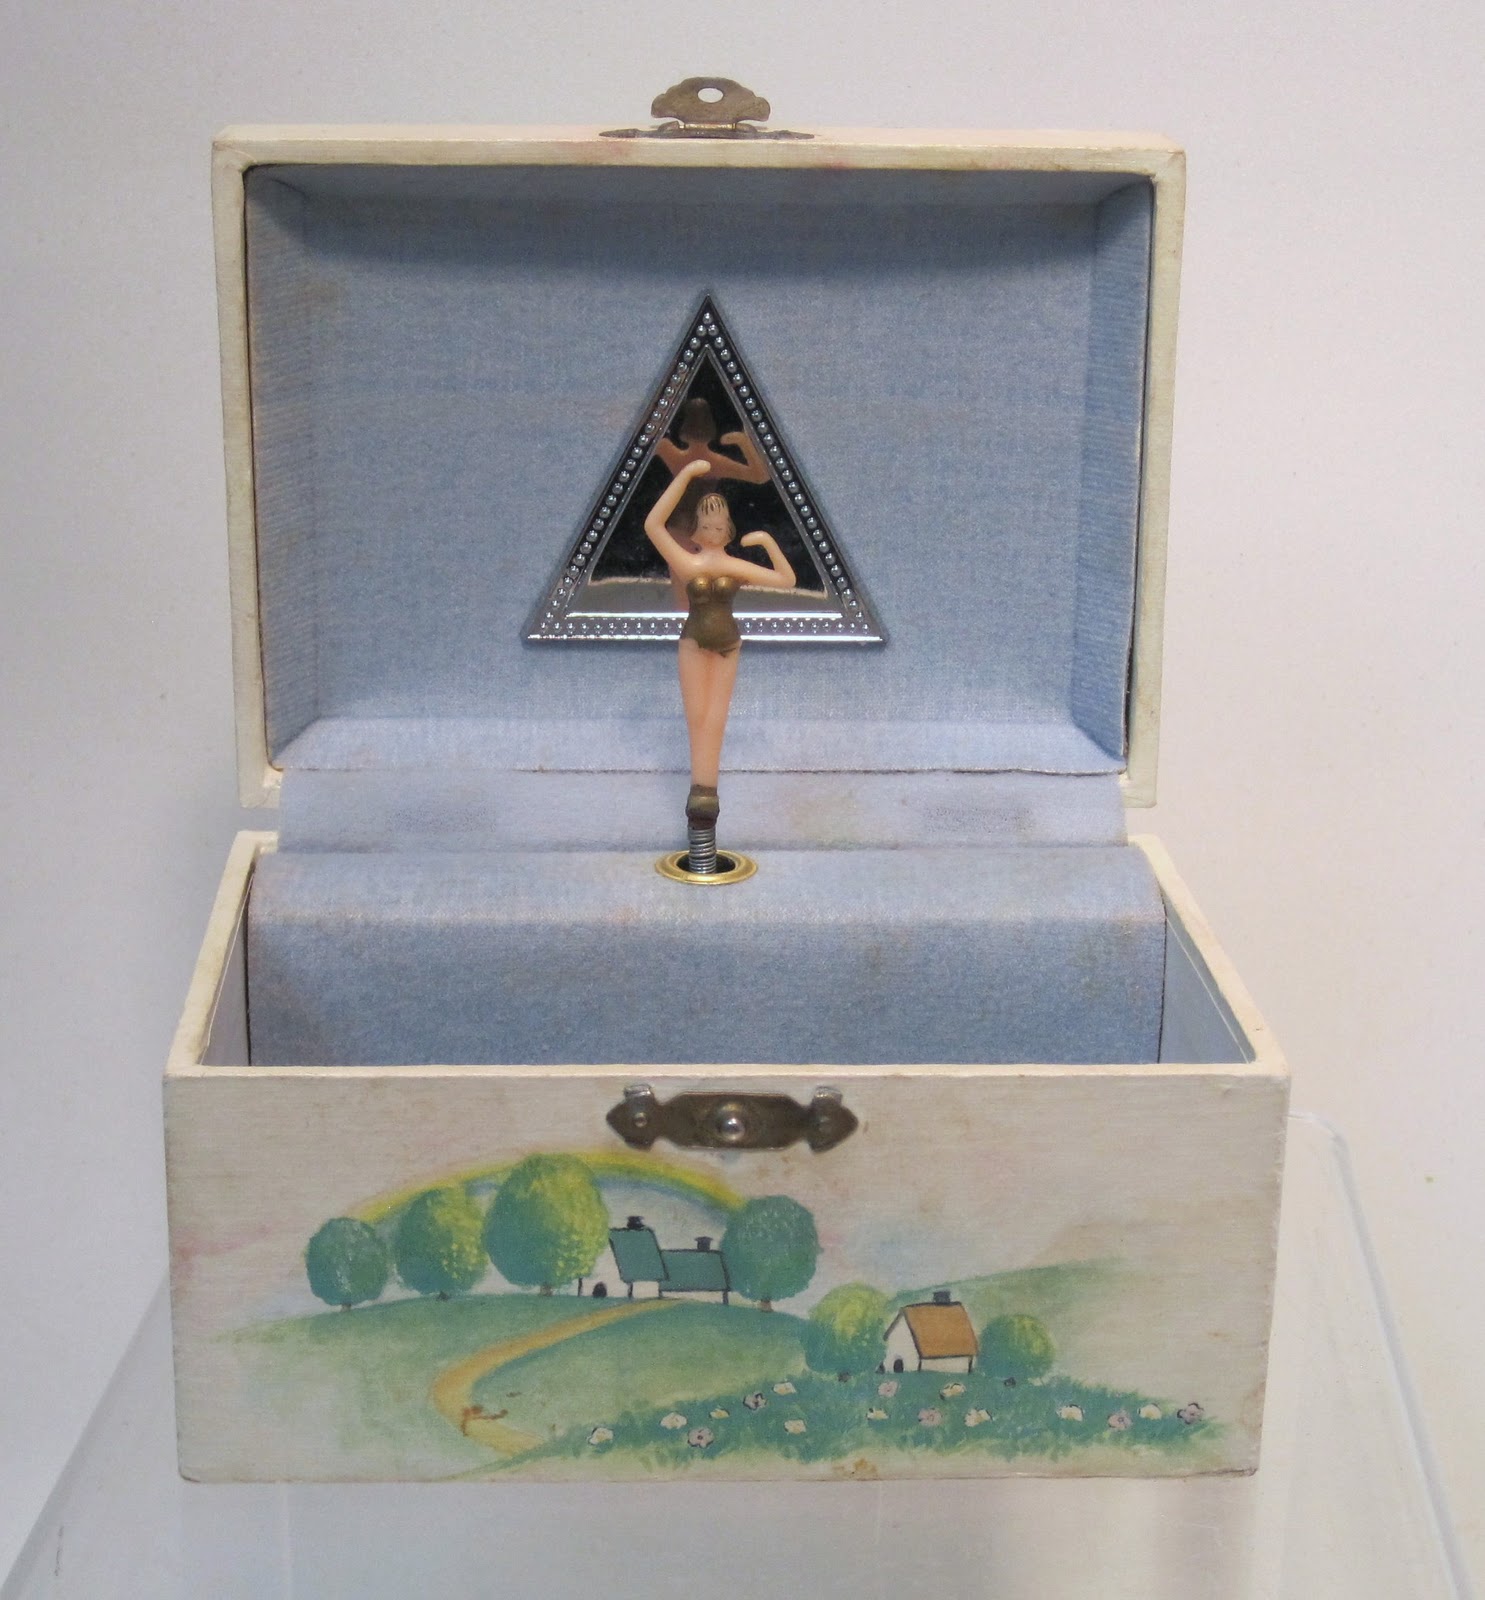
The Before: This was a $1.00 garage sale find. As you can see it was in rough shape. The size is approx 4″ x 6″ and is thin wood covered with a paper print. The Ballerina and hinges worked. My thought was to strip the box, recover and reuse the original hinges and plastic mirror in addition to the Ballerina and music mechanism.


– The original hinges were sanded until they glowed but it was just too difficult to get the pointed spikes back into the wood without damaging the new coverings. So I took out some hinges I had in stock that used screws. Since the box was wood they worked like a charm.
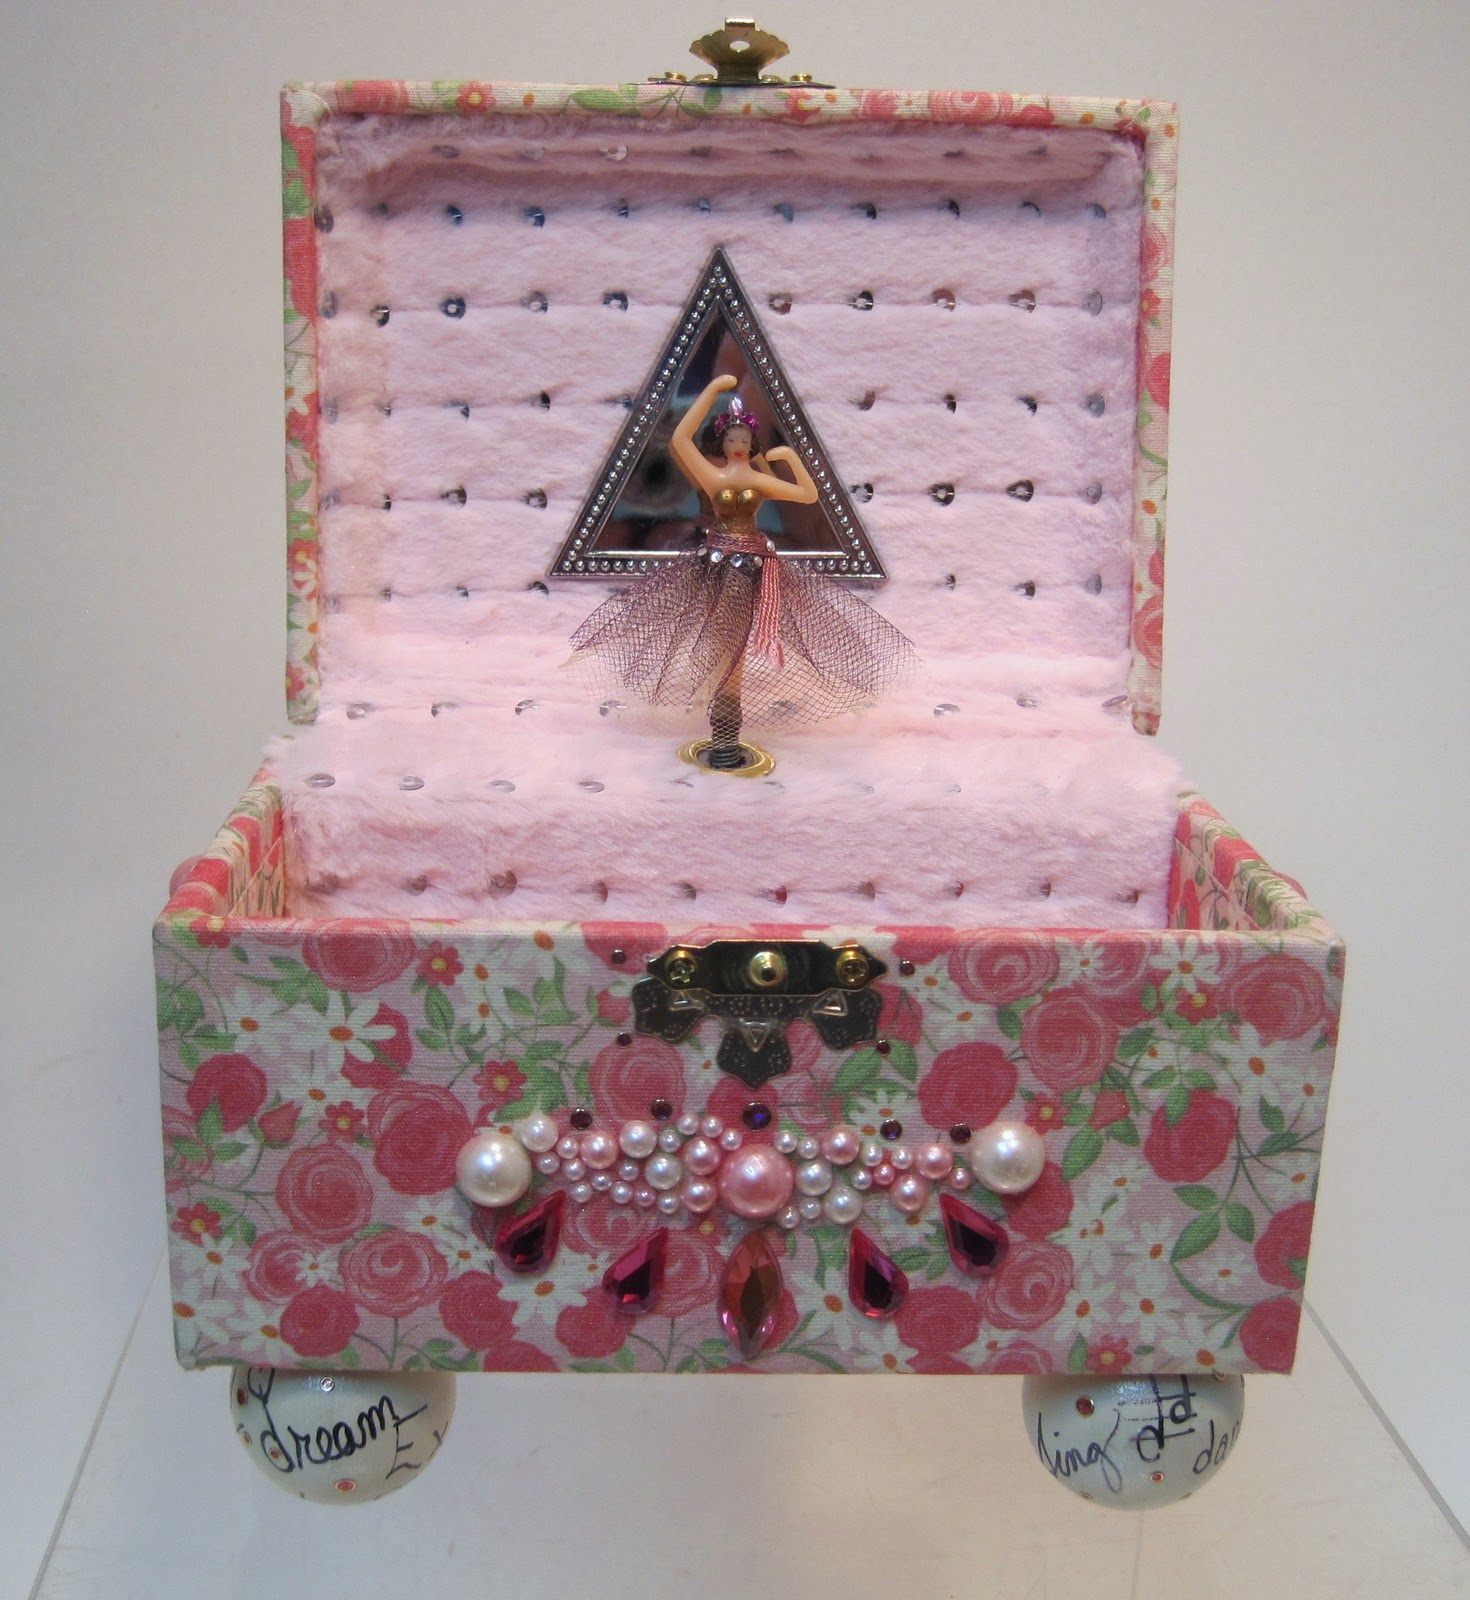
-I had installed the original front clasp before realizing I wouldn’t be able to use all the original hardware. Taking the clasp out left minor slits in the fabric so I took a very LARGE metal ornament top, flattened it out, cut it inhalf and screwed it to the box at the same time I installed the new clasp.

-the adhesive backed fabric I was determined to use was 12×12 and would not cover the outside sides in one piece. I thought if I used the paper catty wampus I could sqeak by – but Noooooo. So I pieced the paper at a diagonal on the sides. Because I cut both pieces on top of one another the seam met perfectly and couldn’t be seen but I felt better putting the pearl decoration over it.
-On projects like this one I use an empty candy holder that I rescued from being thrown away at a local store (this one held plastic eggs with candy in them) to keep track of the parts of my project as well as any small parts I may be considering for the project. AND it was FREE. Note: Keep a look out – there should be a lot of these types of displays sitting empty on the shelves during the holiday season.

Supplies:
–Exterior: Adhesive backed fabric from Paper Chase. I removed the adhesive back leaving a thin layer of paper that prevented glue from seeping thru.
–Interior: Furry pink fabric with sequins sewn on (kids love furry things / I used the same fabric for the cushion on top of her dress-up trunk and inside her tiara box). Fusible web was ironed onto the back of this fabric prior to cutting out and adhering to lightweight cardboard to stop glue from seeping thru.
–Ballerina: Repainted her base leotard. Added a tulle tu tu with rhinestones and a crown.
–Decorations: Disney stick on, trimmed to fit. (this was difficult – I wanted to paint something) / highlighted with sparkle dust, pearls and plastic rhinestones.
-Four 3/4 round wooden balls painted, written on and then painted again.
-Lightweight cardboard
-Ultimate Glue