
The 3 T’s are Finished
That’s TRUNK, TIARA BOX AND TU TU’S…
The descriptions, techniques and supplies are lengthy so I put them at the end of this post with more pictures…
 |
| Aluminum Trunk |
 |
| Tiara Box |
 |
| Magic Princess Tu Tu |
TRUNK (as pictured on it’s side) 26″ wide x 16 1/2″ high x 10″ deep:
This is an aluminum salesperson’s trunk we purchased at a display store. Standing upright (you can briefly see the handle on the left and the feet on the right of the picture), not as it’s pictured here, it’s original purpose is to stack black 1″ H x 8″ W x 12″ L trays that hold inserts for jewelry and/or parts. It has wheels built to the frame for ease in moving inventory from place to place.
Our purpose is for it to store dress up clothes and Princess accessories for my granddaughter. Positioned as shown it will be comfortable for a 3 year old to bend over and retrieve her magic and it will be easy for Mom to slide it under a bed or in a closet when the magic is over for the day.

I had way too high expectations for this trunk that slowed me down. As I got tired of thinking about what it could be – I finally came to own that this was for the imagination of a 3 year old – not a 59 year old. Then it came together.
Inside: Ohhhhh I was going to line it, blah blah. Nope, the inside wasn’t irrelevant. I left it alone.
Outside: I was going to air brush her name and magical pictures on it (although I have the equipment, I have little to no experience in air brushing). NOPE again. I started thinking outside my box and decided to use stick on letters. I couldn’t find them large enough ready made so I went in another direction and made them myself as you’ll see below.
Cushion:
- In hopes that this trunk can also be used as a bench I made a cushion for the lid. I purchased, by the yard, a 12″ x 24″ piece of foam (a couple of dollars on sale) and cut it to size (to fit inside the outside of the lid).
- The cover is a simple slip cover made from the pink fuzzy and sequin fabric that lined the Music Box (see previous post) and Tiara Box. Buttons were attached underneath with coat thread as an anchor for the pink elastic I sewed on – used to go around the corners of the lid to hold the cushion on.(making sure the elastic loops were too small to become a choking hazard)
 |
| Duct Tape Letters & Butterfly |
Name:
- Duct Tape not only comes in patterned rolls but also in 8 1/2″ x 11″ sheets. I chose the pink tie dye and blue tie dye patterns (the solid hot pink was way too loud) to use for getting Gabi’s name on the front of the trunk. The duct tape is very pliable and easily molded to the corrugated pattern of the aluminum.
- I printed her name in the “Curly” font at 72pt and enlarged it 300% on the copier. It wasn’t quite large enough so I enlarged the 300% another 200%. It was perfect.
- Next I taped each letter to the face of the sheet of Duct Tape and cut them out.
- The letters alone were too loud so, prior to them be adhered to the outside, I outlined each letter with a large black sharpie and, using Stazeon Ink and a large background stamp, I stamped each letter. Much better and more fun.
- The star and butterfly were cut out using Sizzix Dies. Again they were trimmed with a black Sharpie marker.
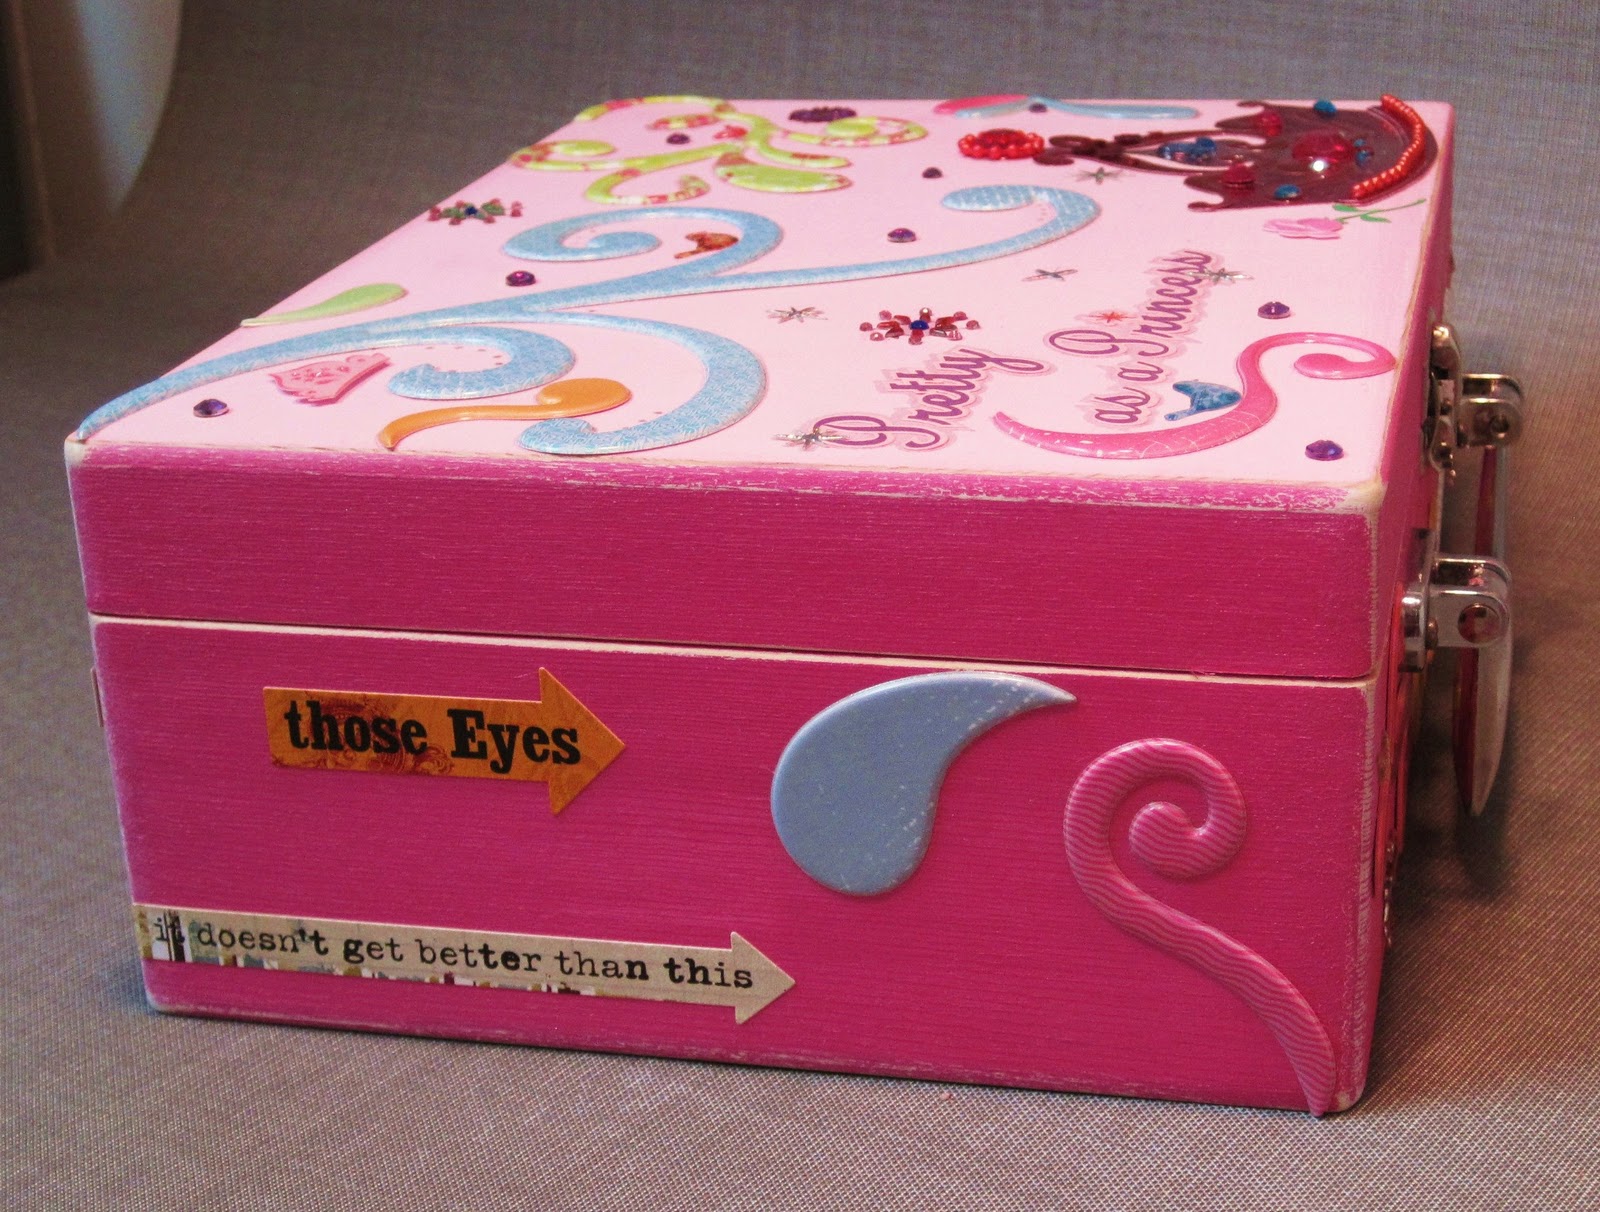
TIARA BOX (as pictured here) 10″ Wide x 7″ Deep x 3 1/2 High:
Geeze – A princess and/or ballerina needs a secure place for her Tiaras. Again, I had to scale my design ideas down to a 3 year old. The final result was to paint and decorate a blank wood box (purchased at Hobby Lobby with a coupon).

Inside:
- Fabric – the inside was covered with the same fuzzy sequined fabric used in the music box (see previous post). In the lid I used a thin chip board covered in the fabric and scored in about 1/2″. The corners were clipped to create a slant to the sides.
- Mirror – I had (for at least 10 yrs) an acrylic mirror in my stash that was originally intended to be used in a miniature Christmas scene as a pond (hence the odd shape).
- Decorations – I used rub on stickers.
 |
| Tiara Box – Inside |
 |
| Front |
 |
| Top |
 |
| Back |
 |
| Side |
Outside:
- The box was first painted with white gesso. Then the sides and bottom were painted with an iridescent air brush paint (using a foam brush) and the top with regular acrylic paint.
- The decorations are a large mix of various stick on and rub on embellishments.
TU TU’s and Princess Dora Skirt:
I purchased a tu tu first. It just didn’t have the grandness a Prima Ballerina needed. So I decided to make her a Tu Tu AND a Dora skirt so she could share when her friends came over to play.
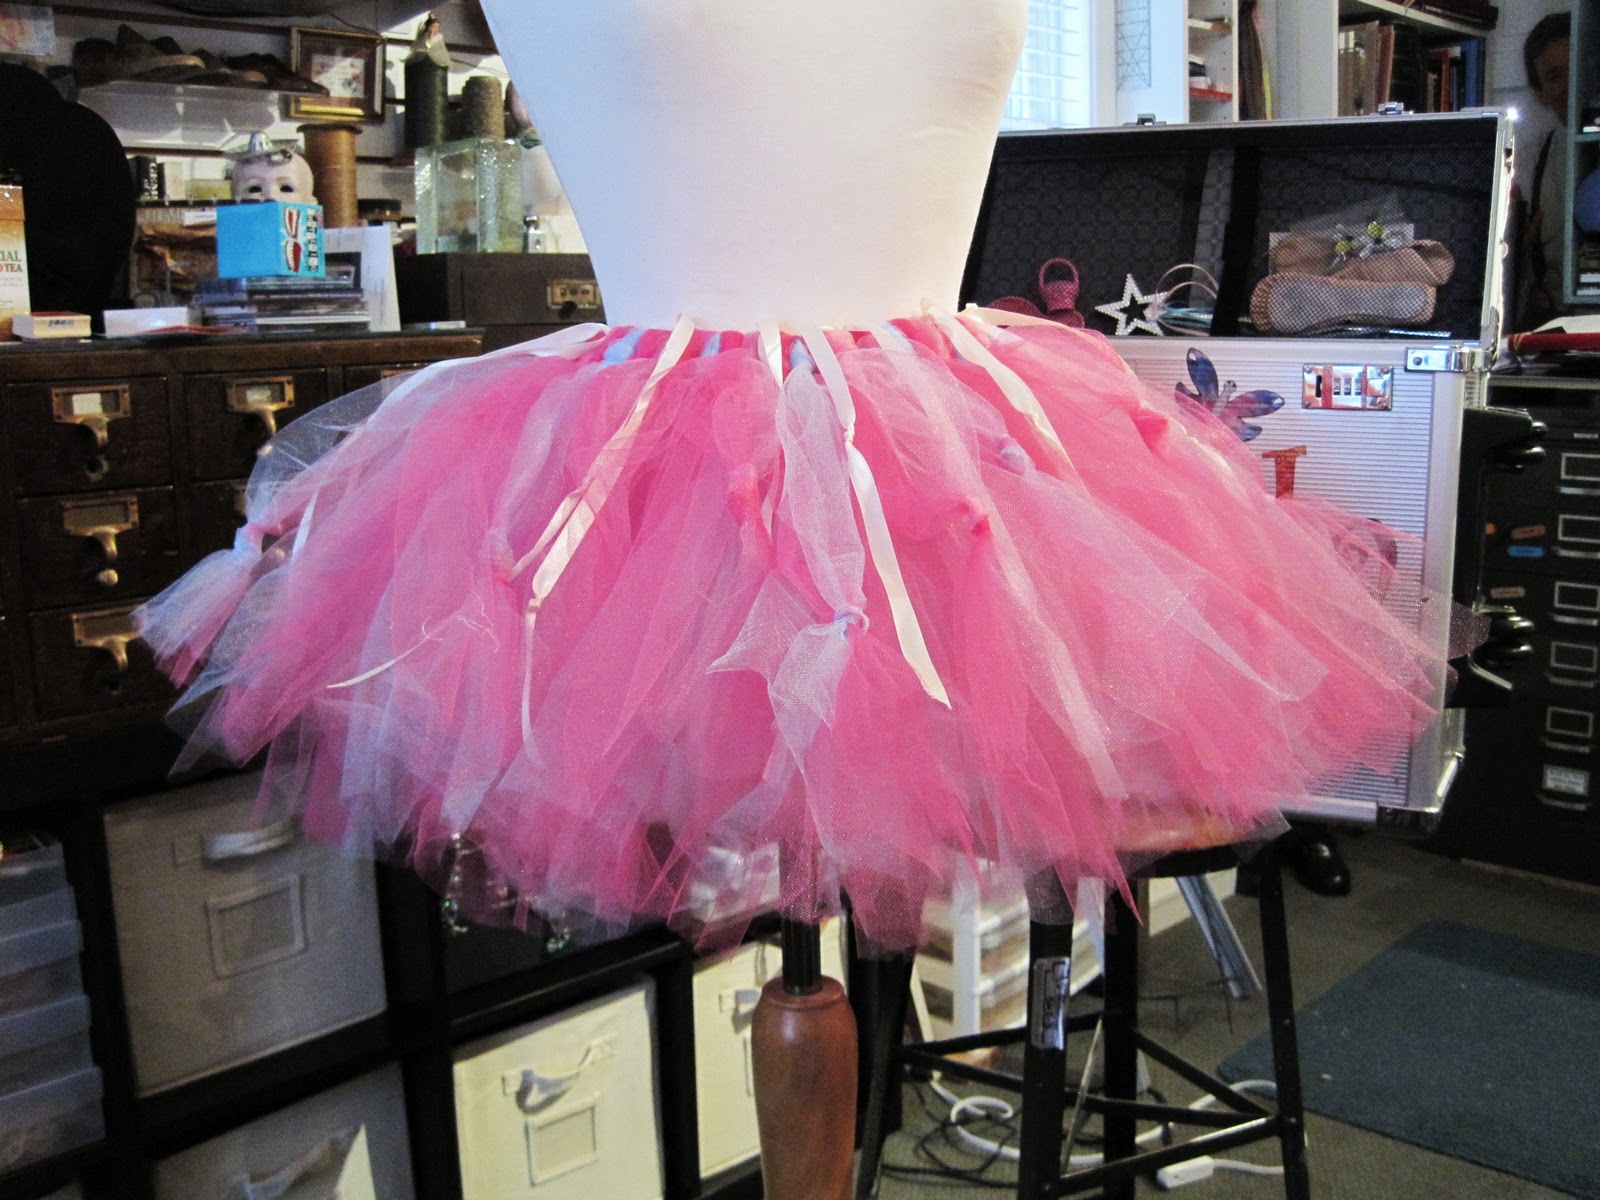
Tu Tu:
- You Tube is a wonderful thing. I bought a pattern AND I searched the web for Tu Tu instructions. I settled on the most simple construction there is and never touched the pattern.
- Cut strips of tulle (either bought by the yard or smarter than that – buy the tulle sold in 100 yd rolls in the bridal section that’s already cut 6″ wide) and knot them around elastic. I bought 2 yds each of shimmer pink and blue by the yard and a roll of fushia. This was the most simple of all the projects I took on for Christmas.
- I knotted every third set of tulle pieces and ribbon for interest.
- Boy is it fluffy.
 |
| Princess Tu Tu |
Dora Play Skirt:
- Gabi LOVES Dora. I purchased 2 yds of Dora material. Cut two sections 10″ each and sewed them end to end. For the ruffle I cut three sections 7″ each, sewed them end to end, folded in half and ran a long gathering stitch the full length of the folded raw edges. After gathering the ruffle I attached it to the 10″ body. I made a casing at the top of the 10″ body piece and inserted elastic. Easy Peasy.
- I didn’t have Gabi’s measurements so I left the elastic to be sewn together after she tries it on at Christmas. I’m hoping it’s long enough to just reach the floor.
 |
| Dora Skirt |
Miscellenous Trunk Accessories (basic Grandma overkill):
- I didn’t get Gabi’s foot measurements until I was done, done and done (I was going to make Dora Ballet slippers to match the skirt). So I purchased Ballet slippers (OMG! How Cute!) and made little clip on’s for the elastic across the foot.
- I embelished a plastic wand with ribbons.
- I also added a hot pink boa (couldn’t resist) to be put away until she’s older.
- A Dora doll in a Princess dress lies waiting to be discovered under all the Fru Fru.
- A play set of Disney Princesses and books also lies in waiting at the bottom of the trunk.
Now – I realize that this may be a little much for a three year old who is in charge of everything she surveys. But I’m hundreds of miles away and when she is old enough to really get into dress up I may be traveling the world. Here’s hoping she’ll grow into the dress-up trunk. That’s my story and I’m sticking to it;)